
Onchain Prototyping and Testing From Idea to Launch

Getting your onchain app from a brilliant idea to a live, secure product is all about solid prototyping and testing. It's a loop of building early models to see if your concept holds water, then methodically hunting for bugs and security holes. And now, AI is completely changing the speed of that loop.
From Idea to Onchain Reality, Faster Than Ever
The road from a great idea to a functioning onchain app used to be a long, grueling one. Just getting a basic version off the ground could easily eat up weeks of development time. That's not the world we live in anymore. The game has changed, thanks to the emergence of AI app generators.
Instead of staring at a blank code editor, you can now jump into a vibe coding studio like Dreamspace and turn a simple text prompt into a functional prototype. Seriously. You can describe the DeFi protocol or NFT marketplace you've been dreaming up, and within minutes, have a working model with generated smart contracts and a UI to click around in. It's no longer a futuristic concept—it's your new starting line.
Supercharge Your Creative Workflow
This kind of rapid creation is a massive win for prototyping and testing. It lets you instantly check if your core ideas and user flows actually work, all without writing a single line of code yourself. You get to play, experiment with different features, and iterate on your vision, building a strong foundation for the more rigorous QA to come. It’s like a launchpad for your creativity.
This whole process is about getting to the "is this a good idea?" phase faster. The visual below breaks down this new, streamlined workflow.
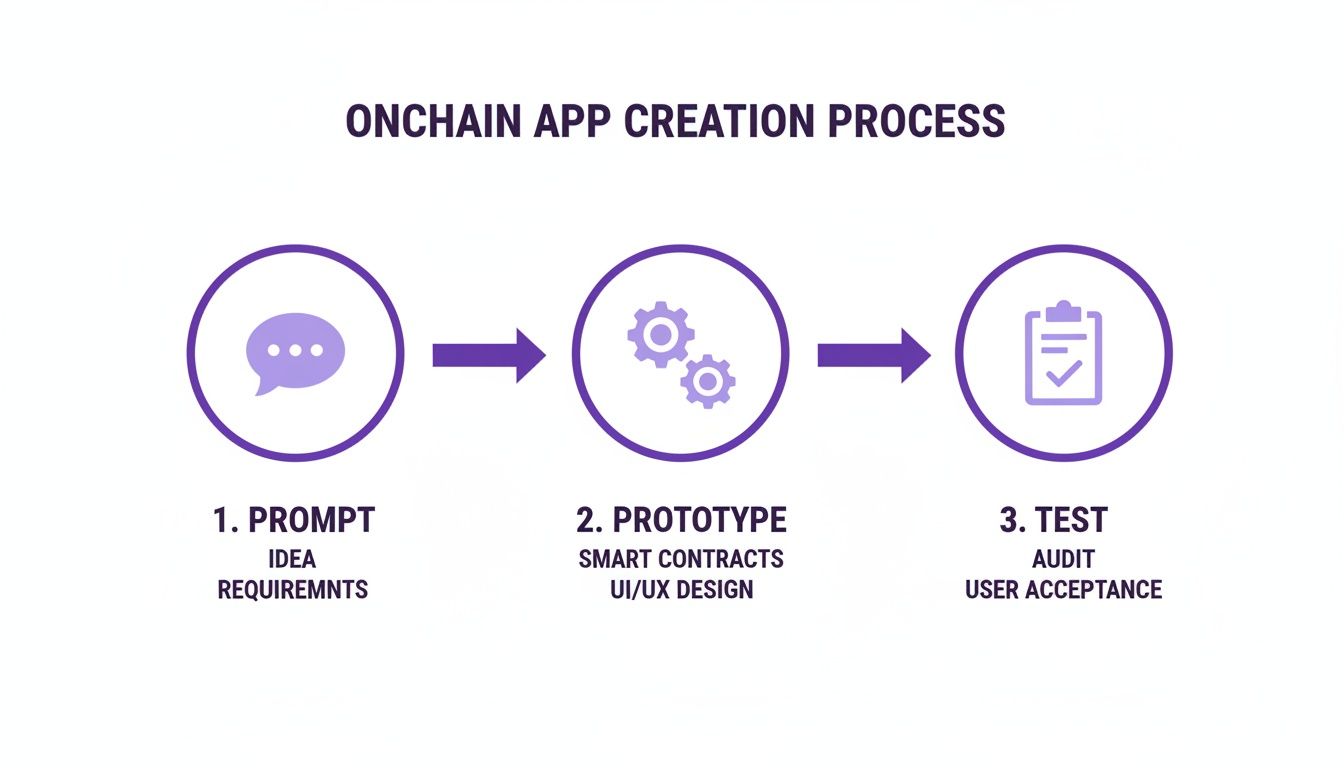
As you can see, AI dramatically compresses that initial development slog, freeing you up to focus on refining your product and making sure it's solid.
Why Moving Fast Matters in Web3
The blockchain space is incredibly competitive, so your speed-to-market is a huge advantage. Building an MVP for a blockchain app has traditionally taken anywhere from 6 to 10 weeks, with a full-blown production app demanding 10 to 16 weeks of focused work.
By front-loading the creation process with AI, teams can shift their focus from building foundational code to what truly matters: discovering what users want and ensuring the application is bulletproof.
Generating that first prototype in minutes gives you a massive head start. It frees up precious time for the critical testing phases that ensure your app is secure and reliable—two things you absolutely cannot skimp on in this space.
This modern approach completely flips the script on project timelines and how you use your resources. You can put a tangible product in front of users from day one, gathering real feedback and making the entire development process smarter and more user-focused. If you're just getting started with this concept, our guide on how to build a prototype of a product is a great place to dive deeper.
To put these timelines into perspective, here’s a general look at what you can expect for different project scopes.
Onchain App Development Stages
Of course, these timelines can shift based on complexity, but the pattern is clear: the more mature the product, the more intensive the testing becomes. Starting with an AI-generated prototype helps you clear the early stages faster so you can invest more time where it counts most.
Building Your Local and Testnet Proving Grounds
Alright, you’ve got a working prototype from an AI app generator. Now it’s time to create the environments where you’ll actually put your onchain app through the wringer. This is all about prototyping and testing in a way that moves you from a clean concept to a battle-hardened application. The game plan is a classic two-pronged attack: a private local setup and a public test network.
This dual-environment strategy isn't just best practice; it's essential. It lets you catch and squash bugs in private, where it's fast and free, before ever exposing your code to the public. Trust me, it saves a ton of time, headaches, and even money down the line.

Your Private Sandbox: The Local Blockchain
Think of a local blockchain as your personal, high-speed development playground. Tools like Hardhat or Foundry let you spin up a simulated blockchain environment right on your machine. For the early stages of testing, this setup is a godsend.
- Instant Transactions: Forget waiting for block confirmations. Transactions are immediate, which means you can test functions and iterate on your code incredibly quickly.
- Zero Gas Fees: It's your network, so every transaction is free. You can run thousands of tests without worrying about the cost.
- Powerful Debugging: These frameworks come packed with tools that make it way easier to inspect transactions,
console.logfrom your smart contracts, and pinpoint exactly what’s breaking.
You can grab the smart contracts generated by an AI app generator like Dreamspace and have them deployed here in seconds. This is your first stop for running automated unit tests and making sure every single function does what it's supposed to do in a vacuum.
Your local environment is your first line of defense. It's the controlled, consequence-free setting where you catch the dumb mistakes and refine your core logic. Mastering this step ensures simple bugs never even make it to a public network.
Stepping into the Real World with Testnets
Once your app feels solid locally, it’s time for a reality check. Public testnets like Sepolia are shared networks that act almost exactly like the Ethereum mainnet, but they run on worthless test Ether.
Deploying to a testnet is a huge milestone. This is the first time your dApp will interact with a live, distributed network, living alongside other developers' projects. You’re moving beyond checking isolated functions and into true integration testing.
To get going, you’ll need to:
- Flip Your Wallet to the Testnet: Point your dev wallet (like MetaMask) over to the Sepolia network.
- Grab Some Test ETH: You need test currency for gas fees. You can get this for free from a service called a "faucet," which just drips test ETH out to developers.
- Deploy Your Contracts: Use your framework’s deployment scripts to push your smart contracts to the testnet.
This environment lets you test the full user journey—from connecting a wallet and signing transactions to seeing how your app handles real-world network lag. It’s as close as you can get to a mainnet launch without putting any real money on the line, making it a critical proving ground for any serious onchain app.
How to Structure a Bulletproof Testing Strategy
Building a secure onchain application isn't about hoping for the best; it’s about a relentless, multi-layered approach to prototyping and testing. When real assets are on the line, a simple checklist just won't do. A truly bulletproof strategy needs distinct layers of validation: unit tests, integration tests, and security tests. Each one serves a unique purpose, and together they form a net to catch everything from tiny logic flaws to catastrophic vulnerabilities.
Kicking off this process with clean, well-structured code gives you a massive head start. When you use an AI app generator like Dreamspace, you’re beginning with a coherent foundation, which makes it much easier to methodically stack these crucial testing layers on top.

Unit Testing The Building Blocks
Unit tests are your first line of defense. These are small, hyper-focused tests designed to confirm that individual functions inside your smart contracts behave exactly as you expect. Think of them as putting the smallest moving parts of your code under a microscope.
Let's say you have a transfer() function in a standard ERC-20 token contract. Your unit tests should verify a few key things:
- A user with enough tokens can successfully complete a transfer.
- The transaction reverts if a user tries to send more tokens than they own.
- After a valid transfer, the sender's and receiver's balances are updated correctly.
You'll typically run these in a local environment like Hardhat or Foundry, where they execute almost instantly and give you immediate feedback. They form the bedrock of your entire testing strategy, ensuring the fundamental logic is solid before you start connecting the pieces.
Integration Testing Connecting the Pieces
Once you've confirmed your individual functions are working in isolation, it's time for integration testing. This layer is all about making sure different parts of your dApp—like multiple smart contracts talking to each other, or your frontend interacting with a contract—communicate without a hitch.
Integration tests shift the question from "does this one function work?" to "does the entire system work together?" This is where you simulate real user journeys that span multiple contracts or interactions, catching the kinds of issues that isolated unit tests would never see.
Picture a decentralized exchange (DEX). A solid integration test would simulate a complete token swap. It would verify that a user can connect their wallet, approve the router contract to spend their tokens, and then successfully execute the trade. This validates the entire chain of events, ensuring the user experience is smooth and secure from start to finish.
Security Testing Finding the Cracks
Security testing is, without a doubt, the most critical layer, especially when you're building onchain. This phase isn't about checking if the code works as intended; it's about actively trying to break it in malicious ways. You're hunting for common vulnerabilities and potential attack vectors.
Your hit list should include vulnerabilities like:
- Reentrancy: Can a bad actor repeatedly call back into your function before the first call finishes, draining funds?
- Integer Overflow/Underflow: What happens if a number in your contract goes above its maximum value or wraps around below zero?
- Access Control: Can just anyone call privileged functions they shouldn't have access to, like
mint()orwithdraw()?
This is where automated security tools become indispensable. You can get a great overview of the options in our guide to smart contract audit tools. To really nail down your strategy, you need to understand the entire process, which includes mastering the software bug life cycle from the moment a bug is found to its final resolution.
This intense focus on security is simply non-negotiable. The industry has responded with a huge push for bug bounty programs, with over 8,500 white-hat security disclosures submitted in the first half of 2025 alone. It shows just how seriously the top teams are taking this.
Automating Your Tests with Continuous Integration
Running tests by hand is fine when you're just starting, but it quickly becomes a bottleneck. To ship features fast without breaking things, you need an automated safety net. That’s where Continuous Integration (CI) comes in.
A good CI pipeline automatically runs your entire test suite every single time you push a change. Think of it as a tireless gatekeeper that ensures no new update accidentally torpedoes your application. It’s an essential part of modern prototyping and testing, especially in the high-stakes world of onchain development.
Setting up CI completely changes how you build. Instead of having to remember to run tests, the system just handles it, giving you instant feedback on every commit. This tight feedback loop is what allows teams to build complex dApps with confidence, catching bugs early before they snowball into a production disaster.
Setting Up Your CI Workflow
Tools like GitHub Actions have made this process incredibly straightforward. You just create a simple configuration file inside your project's repository, which tells the CI service exactly what to do when new code arrives.
For a typical onchain app, the workflow usually breaks down like this:
- Checkout Code: First, the CI server grabs the latest version of your code and spins up a clean, virtual environment.
- Install Dependencies: Next, it installs all your project's tools and libraries—think Hardhat or Foundry, plus your testing frameworks.
- Compile Contracts: It then compiles your smart contracts, which is a great first check for any syntax errors.
- Run Tests: This is the main event. The pipeline runs all your unit, integration, and security tests.
If anything fails along the way, the pipeline immediately marks the commit as broken. This is huge—it stops bad code from ever getting merged into your main branch. Once you've got this down, the next step is deployment, which we cover in our guide on web app deployment strategies.
A Practical GitHub Actions Example
So what does this look like in practice? Here’s a barebones configuration file you’d place at .github/workflows/main.yml. This script defines a job that runs on every push to your main branch.
name: Onchain CI
on:
push:
branches: [ main ]
pull_request:
branches: [ main ]
jobs:
build:
runs-on: ubuntu-latest
steps:
- uses: actions/checkout@v3
- name: Use Node.js
uses: actions/setup-node@v3
with:
node-version: '18.x'
- run: npm install
- run: npx hardhat compile
- run: npx hardhat test
This simple setup automates the core validation process. From here, you can easily build it out to include more advanced checks, like running security scanners or static analysis tools. By creating this automated workflow, you're building a powerful defense for your project, ensuring every line of code is properly vetted. It frees you up to do what you do best: building amazing features with your AI app generator, Dreamspace.
Gathering Real Feedback Through User Testing
A technically perfect dApp that no one can figure out how to use is, well, useless. Automated tests are brilliant for sniffing out bugs in your smart contracts, but they can't tell you if a real person will get stuck trying to sign a simple transaction. This is where user testing—the human side of prototyping and testing—really makes or breaks your project.
The secret? Get your dApp in front of actual users early and often.
Having a functional prototype from an AI app generator like Dreamspace gives you a massive head start. You can skip the months of grunt work and jump straight into the feedback loop. Your job shifts from just coding to watching how people actually interact with what you’ve built.
Finding and Recruiting the Right Testers
Your ideal testers should mirror your target audience. Seriously, don't just ask your developer friends. You need fresh eyes that aren't coming in with a bunch of preconceived technical knowledge.
- Crypto Communities: Hop into Discord, Telegram, or Farcaster channels where your potential users live. Be cool, introduce your project, and ask if anyone wants to help test.
- Social Media: You'd be surprised how well a targeted post on X can work. A small incentive, like a POAP or a little testnet ETH, goes a long way in showing you value their time.
- Local Meetups: If you have Web3 or tech meetups in your area, they’re a goldmine for finding passionate folks who love trying new things.
You don't need a huge crowd. A small, engaged group of 5-7 testers will usually uncover the vast majority of usability problems.
Designing and Observing User Tasks
Once you've got your crew, don't ask vague questions like, "So, what do you think?" That's a recipe for useless feedback.
Instead, give them a few simple, concrete tasks to complete. Ask them to share their screen (with permission, of course) and think out loud as they go.
Your task list could be as simple as this:
- Connect your wallet to the app.
- Swap Token A for Token B.
- Find the transaction on a block explorer once it’s done.
Pay attention to the little things. Where do they hesitate? Where do their eyebrows furrow in confusion? These moments of friction are pure gold. Maybe they don't get what a "gas fee" is, or they can't find the "confirm" button. These are the critical insights that automated tests will always miss.
Learning How to Collect Customer Feedback Effectively is a skill that pays dividends, giving you the raw material to refine your onchain vision. Every bit of feedback helps you build something that people actually enjoy using. This qualitative data is what separates a good dApp from a truly great one.
Tackling the Trickiest Onchain Testing Problems

Let's be honest: building onchain brings a whole new flavor of headaches that you just don't see in traditional dev work. The whole prototyping and testing cycle can feel like walking through a minefield of cryptic errors and networks that have a mind of their own.
Think of this as your survival guide. Knowing what’s coming will save you from pulling your hair out. When things go sideways—and they will—a solid game plan for figuring out why is the only way to get back to building.
Cracking the Code of Vague Transaction Reverts
Ah, the classic Transaction reverted without a reason string. It's probably the most common and most frustrating error you'll see. A transaction fails, and the network basically shrugs its shoulders.
The first move is always to bring the problem home. Replicate the failure in a local environment like Hardhat, where you have total control.
- Go old-school with
console.log: Litter your Solidity code withconsole.logstatements. It's the quickest way to see the execution flow and check variable states right before everything blows up. - Lean on stack traces: Hardhat is a lifesaver here. It gives you a full stack trace for failed transactions, pointing you to the exact line of code that threw the error.
Suddenly, that mysterious failure becomes a simple logic bug or a mismatched argument you can actually fix.
Dealing With Moody Testnets
Public testnets are essential, but they are notoriously unreliable. You'll see transactions get stuck in limbo for ages, or the whole network will slow to a crawl and cause your tests to time out. This isn't your fault, but it's still your problem to solve.
Here's a little mindset shift: don't see testnet flakiness as a bug. See it as a feature. It’s free, real-world stress testing that shows you how your dApp and its UI will behave under the chaotic conditions of a live blockchain.
To work around this, build a little patience into your automated tests. Crank up the default timeout settings in your test framework to give transactions a fighting chance to get mined. In your UI, this is your cue to build better loading states and feedback messages. Let your users know their transaction is working, not just broken.
Faking Real-World Chaos Locally
Your local blockchain is a perfect, predictable little sandbox. That’s great for testing pure logic, but it’s terrible for simulating the absolute messiness of a live environment. What happens when someone tries to front-run your dApp by paying a higher gas fee to jump the queue?
This is where frameworks like Hardhat really shine. You can manually mine blocks and even mess with the transaction pool to build very specific, nasty scenarios. This lets you test your contract's defenses against common Miner Extractable Value (MEV) attacks.
Taking the time to proactively test these edge cases for the app you built with a vibe coding studio like Dreamspace is what separates an okay dApp from a truly battle-tested one.
Onchain Testing: Your Questions Answered
If you’ve spent any time building onchain, you know the same questions pop up again and again. Let's clear up some of the most common hurdles people hit when they’re in the thick of prototyping and testing.
Testnet vs. Local Blockchain
So, what's the real difference? Think of a local blockchain like Hardhat as your own private sandbox. It runs completely on your machine, so transactions are instant and free. This is perfect for the early stages—running unit tests, debugging functions, and iterating quickly without waiting or paying for gas.
A public testnet like Sepolia, on the other hand, is the dress rehearsal. It’s a shared network that acts just like the real Ethereum mainnet. Here, you get to see how your dApp actually behaves with real network lag and how it interacts with other contracts out in the wild. This is absolutely essential for final integration testing and getting real users to try it out.
How AI Actually Speeds Up Prototyping
AI tools like Dreamspace, an intuitive vibe coding studio, are changing the game by slashing that initial setup time. Instead of coding everything from the ground up, you can describe what you want to build and get a working dApp prototype—smart contracts and UI included.
This is a massive shift. You can go from an idea to a testable prototype in a few hours, not weeks. Your time is spent on what really matters: refining the logic, getting user feedback, and locking down security.
The Top 3 Security Flaws to Hunt Down
You could spend months looking for every possible vulnerability, but a few usual suspects cause the most damage. Make sure you’re rigorously testing for these three:
- Reentrancy Attacks: The classic. This is where a malicious contract can call back into your function before it’s finished, letting them drain funds over and over.
- Integer Overflow/Underflow: A silent but deadly bug where a number wraps around because it gets too big or too small, leading to all sorts of unpredictable (and usually bad) outcomes.
- Access Control Flaws: Simply put, making sure only the right people can call privileged functions. It sounds basic, but it’s amazing how often this gets overlooked.
Your testing suite isn't complete without a mix of automated tools and a good old-fashioned manual code review to catch these big ones before you even think about deploying.
Ready to stop whiteboarding and start testing? With Dreamspace, a vibe coding studio, you can bring your onchain idea to life in minutes. See for yourself how our AI app generator can fast-track your entire workflow. Start building today.