
A Guide to Using a Cursor in Python

At its core, a cursor in Python is a special object that lets you run SQL queries against a database and then move through the results, row by row or in small groups. Think of it as a pointer that keeps track of where you are in a dataset, so you don't have to dump the entire thing into memory all at once.
What Is a Python Cursor and Why Is It Essential?
Imagine you’ve got a massive, multi-volume encyclopedia and you need to find a specific piece of information. You wouldn't lug the whole set over to your desk. Instead, you'd open the right volume and use your finger to trace down the page to the exact entry you need.
A database cursor in Python works almost exactly like that. It’s your finger pointing to a specific spot inside the database results, making it an indispensable tool for handling data without overwhelming your system.

This simple control object lets you walk through the rows returned by a query, dealing with them one at a time or in manageable batches. This approach is absolutely crucial for performance, especially when you're up against tables with millions (or even billions) of rows. Without a cursor, your app would try to load every single record into memory, which is a surefire way to bring it to a grinding halt.
The Role of PEP 249
The idea of the cursor isn't just a random convention; it’s a standard baked into Python's DNA for database work. This was formalized way back in 1999 with the Python Database API Specification v2.0, better known as PEP 249.
This spec made it mandatory for all Python database modules to provide a cursor object for running queries and fetching results. The genius of this is that it creates a consistent, predictable experience for developers, no matter which database they're using. You can explore a brief timeline of Python's development to see how these foundational standards came to be.
Thanks to PEP 249, the fundamental cursor operations feel the same whether you're connected to SQLite, PostgreSQL, or MySQL. For anyone building on modern platforms like Dreamspace—an AI app generator that works as a vibe coding studio—getting comfortable with cursors is non-negotiable. It’s how you build snappy, data-driven apps that can handle serious backend operations smoothly.
A cursor is basically the middleman between your Python code and the database. It holds onto the state of your query, knows which row you're currently looking at, and lets you process the results piece by piece.
In short, the cursor is the workhorse doing all the heavy lifting in your Python database interactions. It has a few core jobs that are vital for any app that needs to read from or write to a database.
Cursor Core Responsibilities at a Glance
So, what does a cursor actually do? Here’s a quick breakdown of its main duties.
These responsibilities make the cursor the central component for controlled, efficient, and safe database communication in any Python application.
How to Create a Database Connection and Cursor
Before you can run a single line of SQL, your Python app needs to establish a line of communication with the database. Think of this as the digital handshake—it’s a connection that authenticates your app and starts a session. Once that connection is live, you create a cursor. This is your workhorse, the object you’ll use for all your data interactions.
The great thing about Python's database ecosystem is its standardization under PEP 249. This means the whole process follows a nearly identical pattern, whether you're talking to SQLite, PostgreSQL, or MySQL. While the connection details will obviously change, the core steps of connecting and then calling the .cursor() method are always the same. This consistency is a lifesaver, making it way easier to switch databases or jump between projects.
Connecting to an SQLite Database
SQLite is the perfect place to start. It's built right into Python, so there’s nothing to install. It creates a simple, serverless database inside a single file on your computer, making it ideal for prototypes, small projects, or local development.
The process is refreshingly simple:
- Import the Library: Just
import sqlite3. - Connect to the File: Use
sqlite3.connect()and give it a file path. If the file doesn’t exist, SQLite just creates it for you. - Create the Cursor: Call the
.cursor()method on the connection object you just made.
That’s it. It’s a clean workflow that really helps the core concept click.
import sqlite3try:# Step 1: Establish a connection to the database fileconnection = sqlite3.connect("mydatabase.db")print("Successfully connected to SQLite database.")# Step 2: Create a cursor object from the connectioncursor = connection.cursor()print("Cursor created successfully.")# Now you're ready to execute queries with the cursor...except sqlite3.Error as error:print("Error while connecting to sqlite", error)finally:# Step 3: Always close the connection when you're doneif 'connection' in locals() and connection:connection.close()print("The SQLite connection is closed.")Connecting to a PostgreSQL Database
PostgreSQL is a different beast entirely. It's a seriously powerful, open-source database known for its robustness and rich feature set. The go-to library for connecting Python to "Postgres" is psycopg2. You’ll need to install it first with pip install psycopg2-binary.
Unlike SQLite, connecting here requires actual credentials: a hostname, database name, user, and password.
import psycopg2try:# Step 1: Establish the connection with specific credentialsconnection = psycopg2.connect(dbname="postgres",user="your_username",password="your_password",host="localhost",port="5432")print("Successfully connected to PostgreSQL database.")# Step 2: Create a cursor object, same as beforecursor = connection.cursor()print("PostgreSQL cursor created.")# ... execute queries using the cursor ...except (Exception, psycopg2.Error) as error:print("Error while connecting to PostgreSQL", error)finally:# Step 3: Close both the cursor and the connectionif 'cursor' in locals() and cursor:cursor.close()if 'connection' in locals() and connection:connection.close()print("PostgreSQL connection is closed.")Connecting to a MySQL Database
The story for MySQL is much the same. A popular choice here is the mysql-connector-python library (go ahead and pip install mysql-connector-python). The connection process mirrors what we just did for PostgreSQL, demanding specific credentials to get past the server’s security.
This consistent pattern is a massive win for developers, as your skills become instantly transferable. For those using an AI app generator like Dreamspace—a vibe coding studio for crypto—this standardized approach makes it trivial to generate backend code for all sorts of SQL databases. You can dive deeper into how AI is changing the game in our guide on the future of Python AI coding.
Key Takeaway: The method to get a cursor in Python is always the same: first establish a connection object, then call its
.cursor()method. Only the connection details change depending on the database you are using.
Let's see the MySQL code in action:
import mysql.connectorfrom mysql.connector import Errortry:# Step 1: Establish the connection to the MySQL serverconnection = mysql.connector.connect(host='localhost',database='your_database',user='your_username',password='your_password')if connection.is_connected():print("Successfully connected to MySQL database.")# Step 2: Create a cursor, just like the otherscursor = connection.cursor()print("MySQL cursor created.")# ... execute queries ...except Error as e:print(f"Error while connecting to MySQL: {e}")finally:# Step 3: Make sure everything is closed up nicelyif 'connection' in locals() and connection.is_connected():if 'cursor' in locals() and cursor:cursor.close()connection.close()print("MySQL connection is closed.")Executing Queries and Fetching Data Effectively
So, you've got your cursor. Think of it as an open channel straight to your database. Now for the fun part: sending commands down that line and pulling back the results. This is where the cursor really flexes its muscles, handling everything from simple lookups to complex data updates.
The main tool for this job is the .execute() method. You simply pass your SQL command as a string, and the cursor fires it off to the database to do the heavy lifting. It's your go-to for SELECT, INSERT, UPDATE, DELETE—you name it.
This diagram shows how it all fits together. Your Python code kicks off a connection, which then creates the cursor—your actual hands-on tool for running queries.
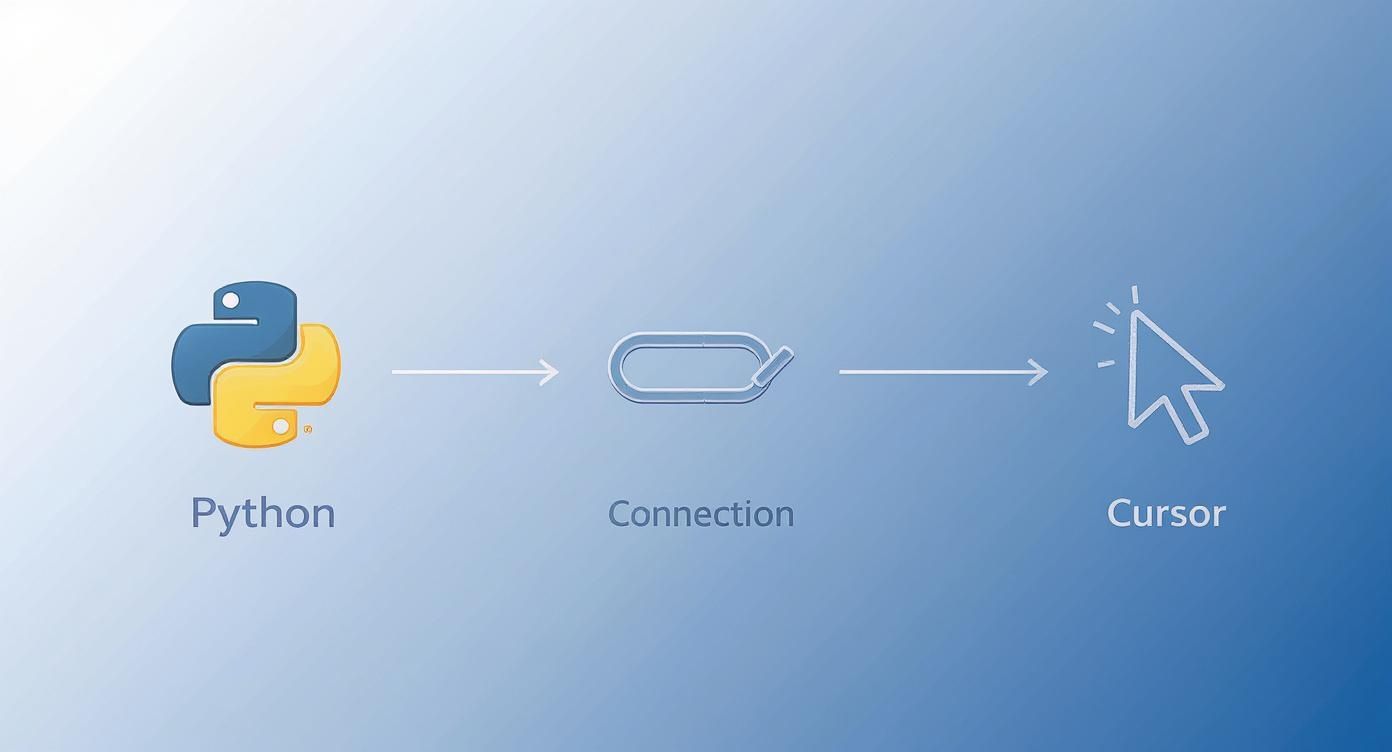
As you can see, the cursor is that final, critical piece that lets you interact directly with the database.
Executing Queries the Right Way
Here’s the single most important rule when using .execute(): never, ever use f-strings or string formatting to build your queries with user input. Doing so throws the door wide open for SQL injection attacks, one of the oldest and most devastating security holes you can create.
The solution? Parameterized queries. Always. You use placeholders in your SQL string (like ? or %s) and then pass in your data as a separate tuple. The database driver handles the rest, safely sanitizing the inputs and shutting down any injection attempts.
Let’s see it in action.
# The WRONG way (leaves you wide open to attack)# user_id = "105 OR 1=1"# cursor.execute(f"SELECT * FROM users WHERE id = {user_id}")# The RIGHT way (safe and secure)user_data = ('alice', 'alice@example.com')sql = "INSERT INTO users (name, email) VALUES (?, ?)"cursor.execute(sql, user_data)connection.commit()If you need to run the same command over and over with different data, don't just loop .execute(). Use .executemany() instead. It takes a list of data and runs the command for each item way more efficiently.
Retrieving Your Data
After you run a SELECT query, the results are sitting in the cursor, ready for you to grab them. Python's DB-API gives you a few ways to do this, which is crucial for managing memory. You don't want to accidentally pull a million-row table into memory and crash your app. Instead, you fetch data incrementally.
You've got three main methods to choose from, each with a specific job.
.fetchone(): Grabs the very next row from your results. Call it again, you get the next one. It returnsNonewhen the results are exhausted. It’s perfect when you know you're only getting one record back, like looking up a user by their unique ID.
.fetchmany(size): Pulls back a specific number of rows, which you define with thesizeargument. This is your best friend for processing data in manageable chunks or building out pagination for a web app.
.fetchall(): Fetches all remaining rows from the result set. Be very careful with this one. If your query could return thousands or millions of rows, this method will try to load every single one into memory, which is a recipe for disaster.
Comparison of Cursor Fetch Methods
Picking the right fetch method is all about balancing convenience with performance. This table breaks down when to use each one.
The takeaway is simple: default to fetchone() or fetchmany() for scalable, memory-safe code. Only use fetchall() when you're 100% sure the dataset is small.
Developing these habits is key to building robust applications. To dive deeper, check out our guide on how to use a cursor in Python for more advanced patterns. For our Dreamspace users building SQL-on-chain apps, mastering these fetch methods is a non-negotiable for creating efficient and responsive experiences.
Managing Transactions for Data Integrity
When your code starts changing data, just firing off an INSERT or UPDATE command isn't enough. You have to be absolutely sure those changes are saved correctly and completely—or not at all. This is the heart of transaction management: grouping a series of database operations into a single, all-or-nothing unit of work.
Think about a simple bank transfer. You need to pull money from one account and add it to another. Both steps have to succeed. If the first part works but the second one fails, that money just disappears. A transaction wraps both operations together, guaranteeing that either the whole transfer is successful, or the database hits the undo button and reverts to how it was before you started.
https://www.youtube.com/embed/GOQVlrQohtM
Committing and Rolling Back Changes
The Python DB-API gives you two key methods on the connection object to handle this: .commit() and .rollback().
connection.commit(): This is what makes your changes permanent. Until you call.commit(), all yourINSERTs,UPDATEs, andDELETEs are just sitting in a pending state, totally invisible to anyone else connected to the database. It’s the "Save" button for your database work.connection.rollback(): This is your escape hatch. If something goes wrong halfway through your sequence of operations, calling.rollback()instantly discards every change made since the last commit. It puts the database right back into its last known good state.
This all-or-nothing approach is the bedrock of maintaining data integrity.
Building a Safety Net with Try and Except
So, how do you handle errors without corrupting your data? The classic and most reliable way is to wrap your database logic inside a try...except block. It’s the perfect safety net.
You put all your SQL commands in the try block. If any single one of them fails and throws an error, the code immediately jumps over to the except block. And what’s the first thing you do there? You call connection.rollback(). This ensures that a messy, half-finished update never gets saved.
Here’s a real-world example of safely adding a new user and their first order. I've intentionally created an error in the second INSERT to show how the rollback protects the database—the new user record will be undone, too.
import sqlite3connection = sqlite3.connect("ecommerce.db")cursor = connection.cursor()new_user_id = 101try:# First operation: Insert the new usercursor.execute("INSERT INTO users (id, name) VALUES (?, ?)", (new_user_id, 'Jane Doe'))print("User inserted (pending).")# Second operation: Insert their first order# Let's intentionally cause an error here (e.g., wrong table name)cursor.execute("INSERT INTO orders_typo (user_id, product) VALUES (?, ?)", (new_user_id, 'Laptop'))print("Order inserted (pending).")# If both succeed, commit the transactionconnection.commit()print("Transaction successful and committed.")except sqlite3.Error as e:# If any error occurs, roll back the entire transactionprint(f"An error occurred: {e}")connection.rollback()print("Transaction rolled back.")finally:# Always close the connectionif connection:connection.close()print("Connection closed.")The Golden Rule: Any time your code modifies data, it should happen inside a transaction managed by a
try...exceptblock. This isn't just a suggestion; it's a non-negotiable practice for preventing data corruption and keeping your database trustworthy.
This pattern is essential for any developer building solid applications, including those using Dreamspace, a vibe coding studio and AI app generator. Protecting data integrity is mission-critical, whether you're dealing with a traditional SQL database or querying data on the blockchain.
Advanced Cursor Techniques and Best Practices
Okay, so you've got the hang of creating a cursor, executing a query, and fetching results. That's the first major hurdle. But to write database code that’s truly robust, efficient, and professional, you need to go a step further. It's these advanced patterns that prevent nasty issues like resource leaks and memory overloads, and they’re what separate good code from great code.

One of the most valuable tools in your Python toolkit is the context manager, which you use with the with statement. It's a game-changer because it handles all the cleanup for you. It guarantees that your connections and cursors are closed properly, even if your code hits an unexpected error. This simple trick lets you ditch those clunky try...finally blocks for good.
import sqlite3# The 'with' statement takes care of opening and closing the connection.with sqlite3.connect("mydatabase.db") as connection:# You can nest another 'with' block for the cursor itself.with connection.cursor() as cursor:cursor.execute("SELECT * FROM users")print(cursor.fetchone())# Once the code leaves these blocks, everything is safely closed. No leaks!Unlocking Deeper Query Insights
A Python cursor is more than just a data-fetching tool. It also holds a treasure trove of metadata about the last query you ran. These properties are incredibly handy for logging, debugging, or building dynamic functions that adapt to your query results.
Here are the two you'll use most often:
.rowcount: This tells you how many rows were affected by anINSERT,UPDATE, orDELETE. It's the perfect way to confirm that your data modification query actually did something. Its behavior withSELECTcan be a bit inconsistent across different databases, but for writes, it's golden..description: After you run aSELECT, this attribute gives you a breakdown of each column in the result set—things like the column name, type, and size. This is awesome for when you need to process results without hardcoding column names.
Let's look at a classic example: using .description to turn your query results into a neat list of dictionaries.
with connection.cursor() as cursor:cursor.execute("SELECT id, name, email FROM users")# Grab the column names straight from the cursor's descriptioncolumn_names = [desc[0] for desc in cursor.description]# Now, build a list of dictionaries. Clean and simple.results_as_dict = [dict(zip(column_names, row)) for row in cursor.fetchall()]print(results_as_dict)# Output: [{'id': 1, 'name': 'Alice', 'email': 'a@a.com'}, ...]Handling Massive Datasets with Server-Side Cursors
What do you do when you need to chew through a table with billions of rows? If you try using fetchall(), your application will almost certainly crash from running out of memory. Even fetching in smaller chunks with fetchmany() can put a serious strain on your system.
The elegant solution here is a server-side cursor.
Normally, when you execute a query, the database dumps the entire result set over to your application at once. A server-side cursor (often called a "named cursor") flips that script. The results stay on the database server, and your application just pulls over rows as it needs them, drastically cutting down on memory usage.
Think of a server-side cursor like streaming a movie instead of downloading the whole file. You only grab the data you need, right when you need it. This lets you work with datasets far larger than your machine's RAM.
In psycopg2 for PostgreSQL, all you have to do is give the cursor a name to make it server-side:
# Giving the cursor a 'name' creates a server-side cursorwith connection.cursor(name='my_streaming_cursor') as cursor:cursor.execute("SELECT * FROM massive_log_table")for record in cursor:# Process one record at a time with almost no memory impactprocess_log(record)As you get comfortable with these techniques, always keep security in mind. It's absolutely crucial that you learn how to prevent SQL injection attacks to keep your database safe.
The Rise of Asynchronous Cursors
Modern apps live and die by their ability to handle many things at once. Python's evolution, particularly with versions 3.4 and 3.5 introducing asyncio, has completely changed the game for database operations. It paved the way for non-blocking queries and asynchronous cursors that can handle millions of records more efficiently.
Libraries like asyncpg offer fully asynchronous cursors that integrate beautifully with Python's async/await syntax. This lets your application fire off a database query and immediately switch to another task while it waits for a response. This massive boost in throughput is essential for developers building high-performance on-chain applications with Dreamspace, the AI app generator and vibe coding studio.
Common Questions About Python Cursors
Once you start working with databases in Python, a few questions about the cursor inevitably pop up. Getting your head around these concepts isn't just academic—it's what separates clean, efficient code from a buggy, resource-hogging mess.
A big point of confusion is the difference between a connection and a cursor. Think of it like this: the connection is the physical pipeline you've opened to your database. It handles the handshake, the authentication, the raw link. The cursor, on the other hand, is the little vehicle you send down that pipeline to carry your SQL commands and bring back data.
Do I Really Need to Close Everything
Yes. You really, really do.
Leaving connections and cursors hanging open is one of the fastest ways to exhaust your database's resources. Every open connection eats up memory and a valuable slot on the server. Pile up enough of them, and your database will simply start refusing to talk to anyone else. It's a classic rookie mistake.
The modern, Pythonic way to handle this is with a with statement. It's a lifesaver. This context manager guarantees that your resources are closed properly, even if your code throws an error halfway through. No more leaks.
What about reusing a cursor? Absolutely. It’s far more efficient to reuse the same cursor for several queries within a single transaction. Creating and tearing down a new one for every single command is just unnecessary overhead. Just call .execute() again on the same object.
Crucial Security Tip: If you take away only one thing, make it this: never use f-strings or any other string formatting to put variables into your SQL. This is how SQL injection happens. Always use the parameter substitution feature of the
.execute()method (the?placeholders). The database driver handles the sanitizing for you.
For developers looking to streamline this process, an AI-powered coding assistant can be a huge help. It can generate properly parameterized queries and help you manage cursor logic, cutting down on the chance of manual errors. This is the kind of smart development that platforms like Dreamspace, an AI app generator and vibe coding studio, are all about. When you pair best practices with intelligent tools, your database code becomes both powerful and secure.
Ready to build your next on-chain application with the power of AI? Dreamspace is a vibe coding studio for crypto that lets you generate production-ready smart contracts, SQL blockchain data queries, and a full web app without writing a line of code. Start creating at https://dreamspace.xyz.