
SQL Server Integration Services Tutorial for Beginners
So you need to move, clean, and load data? You've come to the right place. This is your practical guide to SQL Server Integration Services, or SSIS as it's more commonly known. Think of it as the workhorse of Microsoft's data platform, built specifically for creating those critical data integration and transformation workflows. We're talking about enterprise-level ETL (Extract, Transform, Load) here.
What Is SSIS and Why Does It Matter?
At its heart, SSIS is a platform for building high-performance data integration solutions. It's the central nervous system for your data operations, capable of pulling information from all sorts of weird and wonderful sources, cleaning it up, and shipping it off to its final destination. It's the go-to tool for data pros tasked with taming complex data pipelines.
It’s built to solve real-world business problems. For example, you might need to:
- Merge sales figures from an old Oracle database with customer details stored in a simple flat file.
- Standardize messy, inconsistent address data before pushing it into your central data warehouse.
- Automate the daily grind of downloading transaction files from an FTP server.
The Core Building Blocks of SSIS
Before you dive in, it helps to get a feel for the main components you’ll be working with. These are the LEGO bricks you'll use to construct your data workflows.
- Packages: A package is the basic unit of work in SSIS. It's a self-contained collection of connections, tasks, and variables that you design to perform a specific job.
- Control Flow: This is the big-picture orchestrator of your package. It dictates the overall workflow and the order in which tasks run, using logic like "if Task A succeeds, then run Task B."
- Data Flow: This is where the real magic happens. The Data Flow is a special task within the Control Flow that handles the heavy lifting—extracting data from sources, applying transformations, and loading it into destinations.
SSIS isn't just about shuffling data around; it's about making that data valuable. This same philosophy is what drives modern development, whether you're a data engineer or using an AI app generator like Dreamspace to build complex systems visually.
This diagram from Microsoft gives you a good look at the typical SSIS architecture, showing how it plugs into different data sources and fits within the larger SQL Server ecosystem.
You can see how versatile it is, handling everything from simple file transfers to intricate data warehouse loads. When businesses need help wrangling these kinds of processes, they often look for Expert Data Integration Consulting.
This visual, drag-and-drop approach to building workflows is a lot like what you see in modern tools, including the vibe coding studio we're building here at Dreamspace. You can read more about how this paradigm is shaking things up in our guide on what is no-code development. Its popularity is no fluke; an estimated 4,557 verified companies across finance, retail, and manufacturing rely on SSIS to keep their data flowing.
Getting Your SSIS Workshop Ready
Before we can start building data pipelines, we need to set up our workshop. Getting your SQL Server Integration Services (SSIS) development environment configured correctly from the jump is one of those things that saves you from a world of headaches down the road. The main tool for the job is SQL Server Data Tools (SSDT), which is essentially an extension for Visual Studio.
Think of SSDT as your canvas for designing SSIS packages. It’s where you get that visual, drag-and-drop interface to piece together your entire ETL workflow. A clean install is the first step to a smooth ride.
Nailing the SQL Server Data Tools Installation
The easiest way to grab SSDT is directly through the Visual Studio Installer. If you don't already have Visual Studio, no worries—you can download the free Community edition to get started.
When you run the installer, you’ll see a list of "workloads." This is the important part. You need to find and select the "Data storage and processing" workload. Once you've checked that box, dig into its options and double-check that "SQL Server Data Tools" is also selected.
Already have Visual Studio installed? Just modify your existing setup. Fire up the Visual Studio Installer, hit "Modify" on your current version, and add that same workload. A classic rookie mistake is thinking SSDT comes bundled with a SQL Server installation; it doesn't. It's tied directly to Visual Studio.
A well-configured environment is the foundation for effective development. It allows you to focus on solving business problems with data, rather than wrestling with your tools. This principle of a streamlined setup is what enables platforms from a vibe coding studio like Dreamspace to accelerate app creation.
With the installation wrapped up, you’re ready to fire up your first project. Open Visual Studio and go to "Create a new project." In the search bar, type "Integration Services" and select the Integration Services Project template. Do yourself a favor and give it a sensible name now, like "CustomerDataETL." You'll thank yourself later when you're juggling multiple projects.
Setting Up Your First Connections
Okay, project created. The next immediate step is telling SSIS where your data lives and where it's going. We do this by setting up connection managers, which basically just store the credentials and server info SSIS needs to communicate with databases, files, or other services.
For this sql server integration services tutorial, we’ll stick to a standard SQL Server database connection.
- Look for the Connection Managers pane, usually at the bottom of your screen. Right-click in that empty space and choose "New OLE DB Connection."
- A dialog will pop up. Click the "New..." button and type in your SQL Server's name.
- Next, pick your authentication method (Windows or SQL Server) and then select the specific database you want to work with from the dropdown.
- Before you close it out, always hit the "Test Connection" button. Seeing that "Test connection succeeded" message is the green light you need.
This initial setup—defining your connections in a clear, configurable way—is a pattern you see everywhere in data and development tools. If you're curious how this idea extends to other areas, you can check out some of the best low-code development platforms which rely on similar principles. Getting these connections right from the very beginning is a core skill for any SSIS developer.
Building Your First Real-World SSIS Package
Alright, enough theory. It's time to roll up our sleeves and build something. We're going to create a straightforward ETL package that handles a classic business task: grabbing raw customer data from a CSV, running a couple of simple but crucial transformations, and then loading the clean records into a SQL Server table.
This part of our sql server integration services tutorial is all about getting hands-on with both the Control Flow and the Data Flow. You'll get a feel for dragging, dropping, and configuring the essential components that make SSIS such a go-to tool for data pros. When you're tackling your first package, especially for moving data around, keeping the essential data migration best practices in mind will save you a lot of headaches later.
This visual approach to building data pipelines is what makes SSIS so intuitive. You literally connect the dots to define the workflow, a design philosophy that's all about making complex systems easier to build with confidence.
Designing the Control Flow
Think of the Control Flow as the big-picture orchestrator of your package. For our simple ETL job, the Control Flow will have just one main component: the Data Flow Task.
It's like the project manager that points to a job and says, "Go do that." It doesn't get bogged down in the details of how the data gets cleaned; it just kicks off the process. You’ll find the Data Flow Task right in the SSIS Toolbox. Just drag it onto the design surface, and you’re done here for now. The real magic happens inside this task.
A clean Control Flow is the hallmark of a well-organized package. By keeping it simple and delegating the nitty-gritty data work to the Data Flow, you make your packages way easier to understand, manage, and debug down the line.
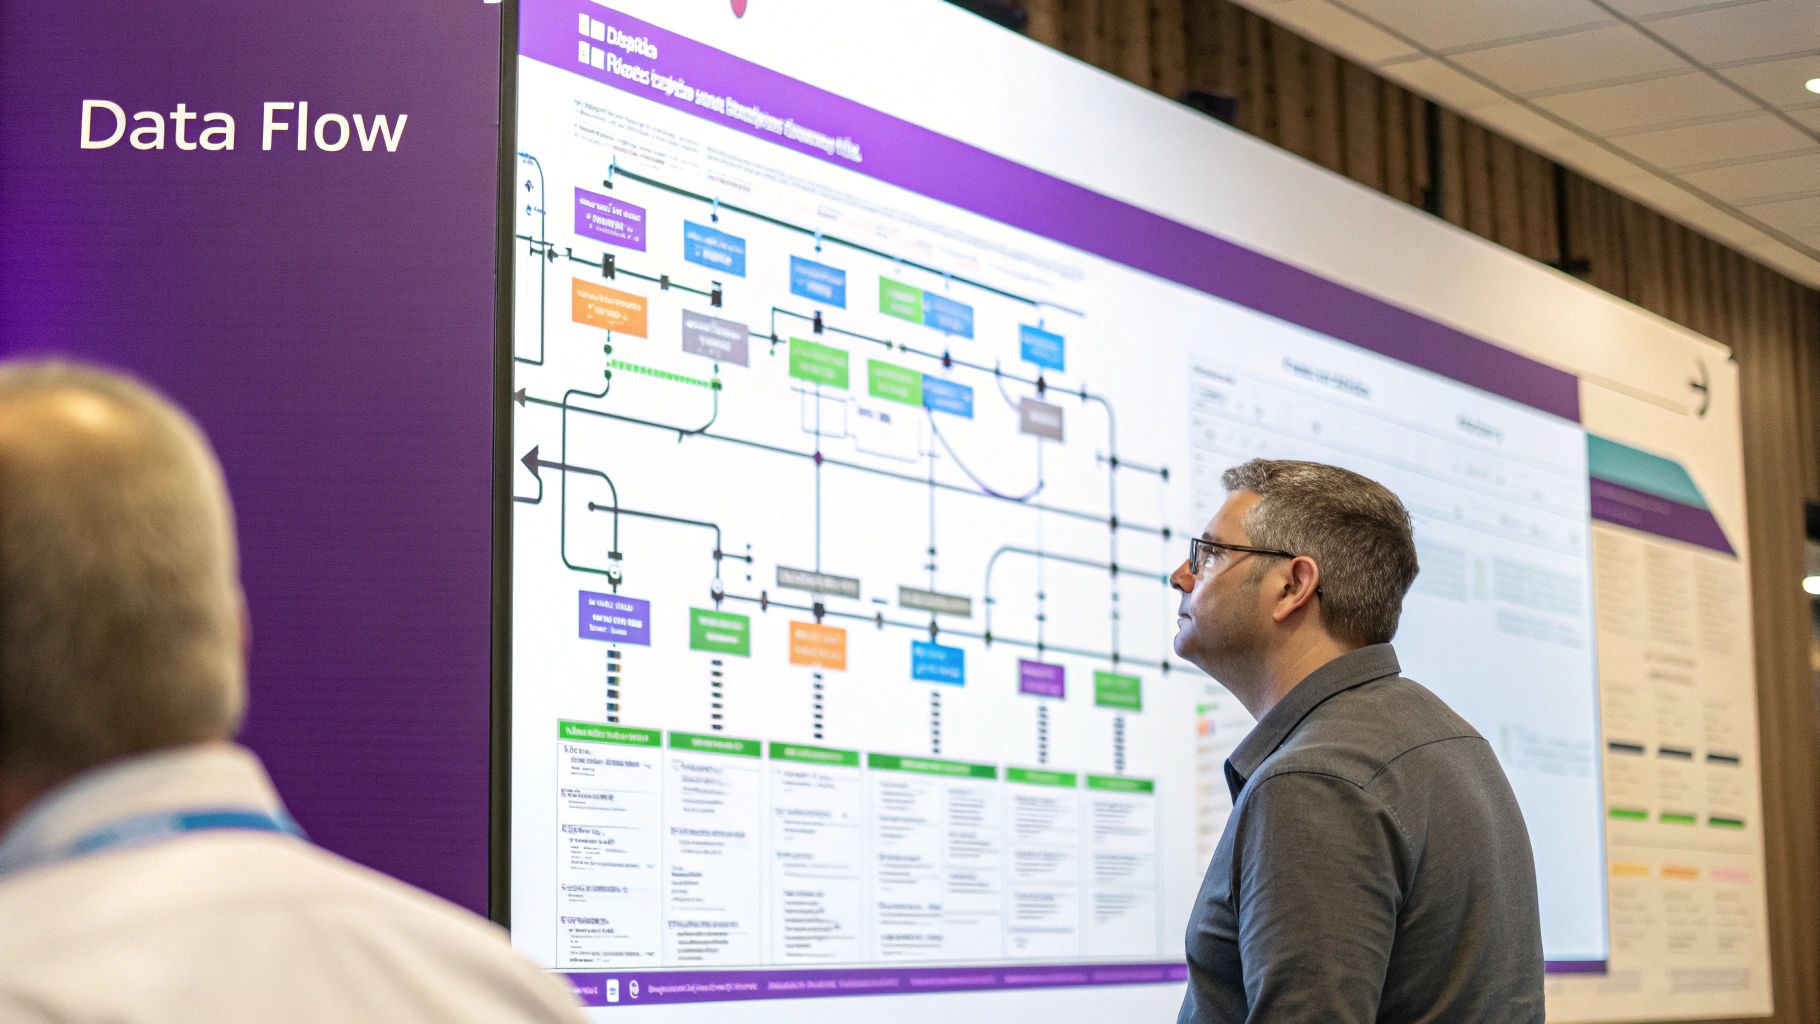
Crafting the Data Flow
When you double-click your new Data Flow Task, you’re taken to the Data Flow canvas. This is where we’ll map out the actual extract, transform, and load steps. Our plan is to connect a source, a transformation, and a destination. Simple as that.
- Flat File Source: This is our starting point for reading data from files like CSVs. Drag it onto the canvas and set it up to point to your customer data file. You'll need to define the columns and their data types so SSIS knows exactly what it's reading.
- Derived Column: This transformation is a workhorse. It lets you create new columns or tweak existing ones using expressions. We’ll use it to add a “FullName” column by simply combining the “FirstName” and “LastName” columns from our source file.
- OLE DB Destination: This is the finish line. Drag this component onto the canvas and connect the output from the Derived Column to it. You’ll configure it to point to your target SQL Server table and map the incoming columns—including our brand new “FullName” column—to the right spots in the destination.
The image below gives you a great visual of how the SSIS designer lays out a clear workflow for your ETL package.
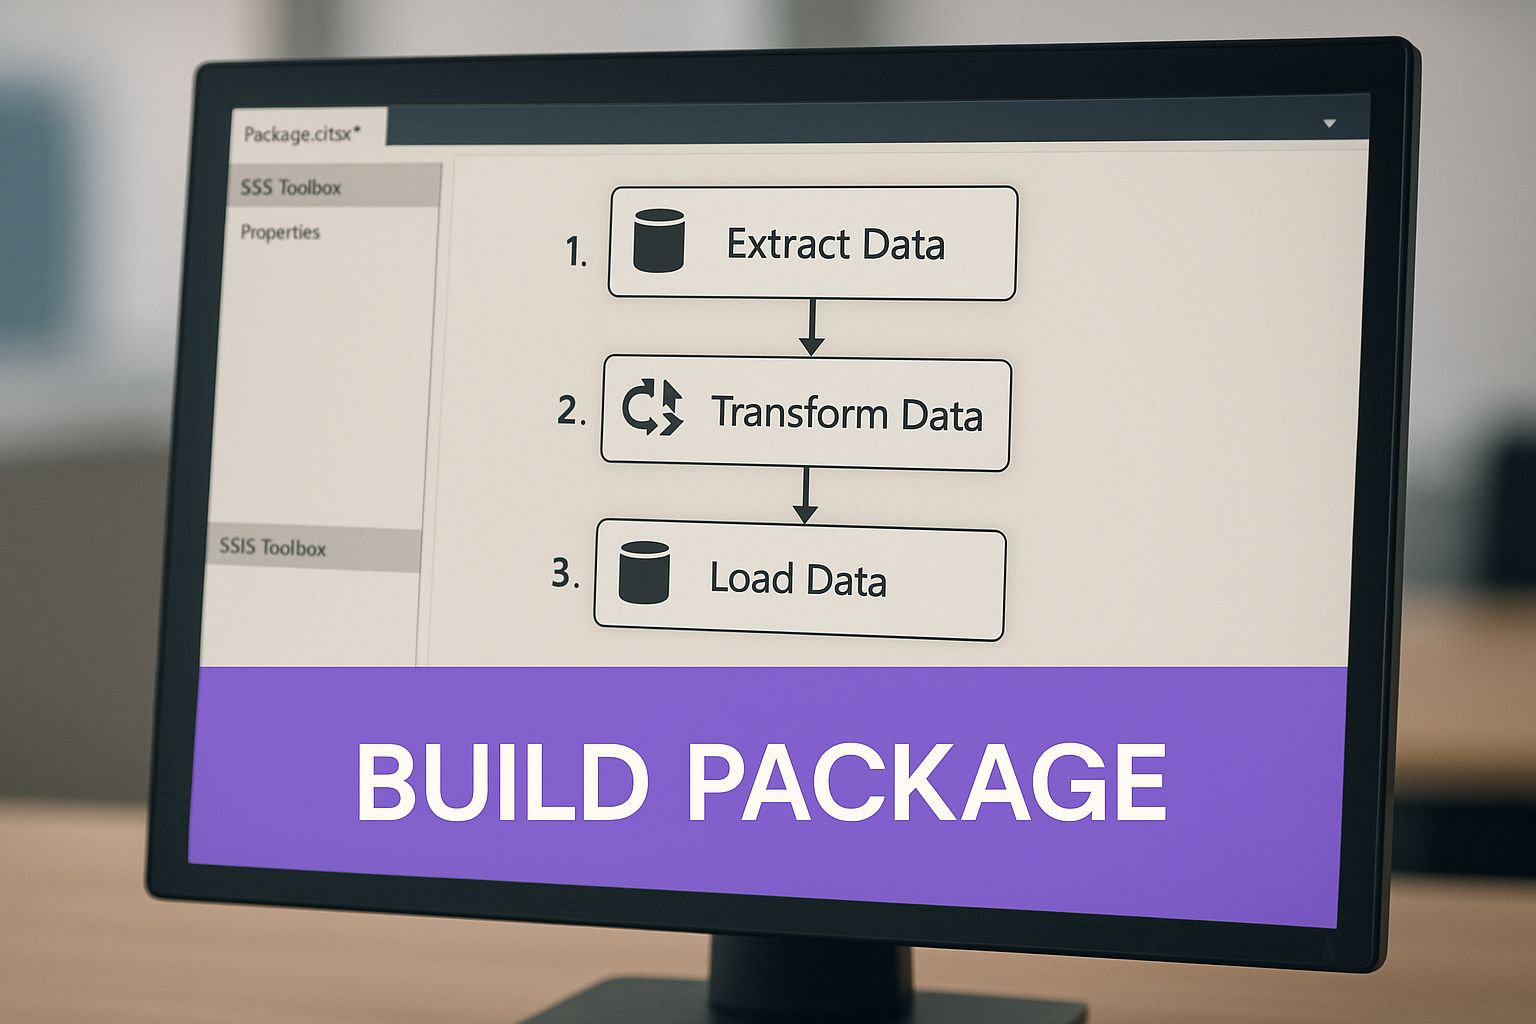
This visual map is the heart of SSIS development. It lets you trace the journey of your data from start to finish. Once your components are connected and configured, you're ready to hit "run" and watch your data flow through the pipeline you just built.
Mastering Essential Data Flow Transformations
The real magic of SSIS happens inside the Data Flow. Sure, moving data from A to B is useful, but the ability to clean, reshape, and enrich that data on the fly is what separates a basic data transfer from a robust ETL pipeline. These transformation components are the true workhorses of the entire process.
Think of the Data Flow toolbox as a set of specialized power tools. You wouldn't use a circular saw to drive a nail, and you won't use an Aggregate task when you really need a Conditional Split. Learning to pick the right tool for the job is key. By combining these components, you can build incredibly sophisticated data pipelines piece by piece.
Routing Rows with Conditional Split
One of the most frequent tasks you'll encounter is splitting a single stream of data into multiple outputs based on some business logic. This is precisely what the Conditional Split transformation was built for. It acts like a traffic cop, evaluating each row against a set of rules you define and sending it down the appropriate path.
Let's say you have a customer list and need to separate active accounts from inactive ones. With Conditional Split, it’s a breeze. You’d set up conditions like:
[Status] == "Active"[Status] == "Inactive"
Rows that match the "Active" condition flow down one output, maybe to your primary customer database. Inactive ones go down another, perhaps to an archive table. Any rows that don't match either can be caught by a default output for troubleshooting.
The Conditional Split is your data traffic controller. It directs rows based on logical rules, making sure only the right records end up in the right place. Getting comfortable with this one is non-negotiable for building clean, reliable workflows.
Enriching Data Using the Lookup Transformation
Raw data rarely arrives with all the context you need. The Lookup transformation is your go-to for adding that missing context by pulling in related information from another source, like a reference table. It essentially performs a quick, efficient join between your incoming data and a lookup dataset.
Imagine your source sales records have a ProductID but no ProductName or Category. You can use a Lookup to connect to your DimProduct table, match on ProductID, and instantly pull the ProductName and ProductCategory into your data flow. This adds crucial detail before the data ever hits its final destination.
It's a much more performant approach than trying to handle this with row-by-row lookups in a script. Speaking of different data handling techniques, if you want to explore other database methods, our guide on how to use a cursor in SQL offers a different perspective.
Summarizing Data with the Aggregate Transformation
Sometimes you don't need every single transaction—you need the big picture. The Aggregate transformation is perfect for this, letting you perform calculations across groups of rows, just like a GROUP BY in a SQL query. Think sums, counts, averages, minimums, and maximums.
A classic example is processing a massive table of individual order items. If your goal is to populate a daily sales summary table, you can use the Aggregate task to group all records by OrderDate and ProductID while summing the SaleAmount for each group. This drastically shrinks your dataset and gets it ready for high-level reporting and analysis.
The market certainly recognizes the value of these skills. The global SQL Server Transformation Market is on track to hit USD 20.7 billion by 2025, with data integration scripts taking the largest share.
To give you a quick reference, here are some of the most common transformations you'll be using in your SSIS packages.
Essential SSIS Data Flow Transformations
Mastering these core components will give you the foundation you need to tackle almost any data integration challenge that comes your way.
Deploying and Automating Your SSIS Package
Building an SSIS package on your local machine is one thing, but that’s just the beginning. The real magic happens when you deploy and automate it. A package that only fires when you click "start" isn't a data solution—it's just a script. The goal here is to build a reliable, hands-off data pipeline that runs like clockwork. This is the final and most critical step.
This is where you graduate from development to production. You’re turning a manual process into an automated asset that executes flawlessly without you having to lift a finger. Think of it as officially launching a product, built with the same precision you'd expect from a vibe coding studio like Dreamspace.
Choosing Your Deployment Model
Before you can set anything to run on a schedule, you have to get your work onto a SQL Server instance. SSIS gives you two ways to do this, and your choice really depends on what kind of environment you're working with.
- Project Deployment Model: This is the modern, go-to method. You deploy your entire Visual Studio project—all packages, parameters, and connections included—to a central SSIS Catalog (SSISDB). It’s a secure, organized hub for everything you need: versioning, management, and execution. Honestly, for any new project, this is the way to go.
- Package Deployment Model: This is the old-school approach. You’re deploying individual
.dtsxfiles to the server's file system or themsdbdatabase. It’s far more limited and is really only kept around for maintaining legacy SSIS solutions.
For this sql server integration services tutorial, we're sticking with the Project Deployment Model. It’s the current standard and just offers so much more in terms of management and security.
Deploying to the SSIS Catalog
The SSIS Catalog, also known as SSISDB, is a special database living on your SQL Server instance built specifically to handle your projects. It’s a central command post that makes it incredibly easy to secure, monitor, and run everything you’ve built.
Getting your project into the catalog is pretty painless, thanks to the Integration Services Deployment Wizard.
- Pop open Visual Studio, find your SSIS project in the Solution Explorer, right-click it, and hit "Deploy."
- The wizard will pop up. First, you'll point it to the destination server—the one where your SSIS Catalog lives.
- Next, you'll navigate to the specific folder inside the catalog where you want the project to land.
- Give your settings one last look and click "Deploy."
The SSIS Catalog is your command center for production packages. It centralizes management, logging, and security, turning your collection of individual packages into a manageable enterprise solution.
Scheduling with SQL Server Agent
Alright, your project is deployed. The final piece of the puzzle is putting it on a schedule. This is where SQL Server Agent steps in. It's a rock-solid job scheduling service that can kick off tasks whenever you want, making it the perfect partner for your SSIS packages.
Setting up a SQL Server Agent job is dead simple.
- Connect to your database instance using SQL Server Management Studio (SSMS).
- In the Object Explorer, expand "SQL Server Agent," right-click "Jobs," and choose "New Job."
- Give it a name that makes sense, like "Daily Customer Data Load." No cryptic names!
- Head over to the "Steps" page and click "New." For the step type, you’ll want to select SQL Server Integration Services Package.
- Set the package source to "SSIS Catalog" and then browse to the package you just deployed.
- Finally, jump to the "Schedules" page. This is where you tell the job when to run. Every day at 2:00 AM? Every hour? You decide.
Once you save the job, SQL Server Agent takes over. It will now reliably run your package on the schedule you defined, officially completing your journey from a manual script to a fully automated ETL workflow.
Got Questions? We’ve Got Answers.
As you start working your way through this sql server integration services tutorial, you're going to hit a few common sticking points. It happens to everyone. Let's tackle some of the most frequent questions I hear from people just getting their sea legs.
SSIS, SSAS, SSRS: What's the Difference Anyway?
It’s a classic case of Microsoft's alphabet soup, and it's easy to get them mixed up. While they're all part of the same BI stack, they have totally different jobs.
Here’s a simple way I like to think about it:
- SSIS (Integration Services): This is your data plumber. Its entire purpose is ETL—Extract, Transform, and Load. SSIS is the workhorse that builds the data pipelines, pulls data from messy sources, cleans it up, and shoves it where it needs to go.
- SSAS (Analysis Services): This is the data architect. Once SSIS delivers the clean data, SSAS steps in to build sophisticated data models and cubes. It’s all about organizing that data for deep, complex, and blazing-fast analysis.
- SSRS (Reporting Services): And finally, this is your presentation layer, the interior designer. SSRS takes the beautifully structured data models from SSAS and turns them into polished reports, dashboards, and visualizations for the business folks.
So, in a nutshell: SSIS moves the data, SSAS models it, and SSRS presents it.
How Should I Handle Errors In An SSIS Package?
This is a big one. Building proper error handling is what separates a brittle, amateur package from a resilient, enterprise-grade solution. Thankfully, SSIS gives you some powerful tools to manage failures gracefully.
Inside the Data Flow, every single transformation has an Error Output. You can literally drag an arrow from that output to redirect rows that fail for any reason. Instead of crashing the whole job, you can pipe those bad rows into a separate log file or an error table for later review. It’s a lifesaver.
At the Control Flow level, you have Precedence Constraints—those green and red arrows connecting your tasks. Don't just leave them on the default "Success" setting. You can configure them to create different workflows based on failure or completion. For example, if a task fails, you can have a "Failure" constraint that kicks off an "Send Mail" task to alert you.
For more global error handling, you can use Event Handlers. The OnError event, for example, can be configured to fire a specific set of tasks anytime any component in the package throws an error.
I can't stress this enough: solid error handling isn't something you bolt on at the end. It’s a fundamental part of designing a reliable package. Using Error Outputs and Precedence Constraints from the get-go will save you so many headaches down the road.
When Should I Bother With Variables And Expressions?
Honestly? You should use them almost all the time. If you want your packages to be dynamic, flexible, and reusable, variables and expressions are your best friends. Hardcoding values is a recipe for maintenance nightmares.
Variables are just containers for values that can change each time the package runs—things like a file path, a server name, or a specific date.
Expressions are where the magic happens. They are little snippets of code that use those variables to dynamically set the properties of your tasks. Instead of telling your package to always look for Sales_2024-01-01.csv, you can use an expression to build that filename on the fly using a variable that holds the current date.
This is how you build a package that can run every single day without anyone ever having to touch it.
Ready to move beyond data pipelines and start building your own onchain applications? Dreamspace is a vibe coding studio and AI app generator that lets you create production-ready crypto apps with no code required. Generate smart contracts, query blockchain data with SQL, and launch your project in minutes.
Start building your next idea at https://dreamspace.xyz.