
how to create branch in github: A Practical Guide

Working directly on your project's main codebase is like performing surgery on a live patient—one slip and the whole thing flatlines. That's where branches come in. Creating a new branch is like cloning your code into a safe, separate lab where you can experiment, build, or fix things without any risk to the stable, live version.
Why GitHub Branching Is a Developer's Best Friend

Think of branching as your project's creative sandbox and safety net, all in one. Instead of pushing every change directly to the main branch, you create an independent line of development. This simple habit is the bedrock of modern software development, letting teams move fast without breaking things.
It's a practice adopted by millions. With GitHub now hosting over 100 million repositories as of 2025, branching has become a non-negotiable part of the collaborative coding workflow. It's how teams build in parallel and keep their projects from descending into chaos.
The Role of Branches in Modern Development
The entire philosophy boils down to one simple rule: keep your main branch pristine. It should always be stable and ready to deploy.
Any new work—from a tiny bug fix to a massive new feature—happens on a dedicated branch. This disciplined separation is what makes it all work.
- Isolation: You can build a wild new feature without a single worry about breaking existing code. If the idea turns out to be a dead end, just delete the branch. No harm done.
- Collaboration: Multiple developers can work on different features at the same time. Everyone gets their own branch, so nobody is stepping on anyone else's toes.
- Code Reviews: Branches are the foundation for Pull Requests (PRs). A PR is just a formal way of saying, "Hey, I'm done with my work on this branch. Can you review it before we merge it into
main?"
This workflow is absolutely crucial for keeping quality high and momentum going. Here at Dreamspace, our vibe coding studio, we live by this. A structured branching strategy lets us prototype new ideas for our AI app generator at lightning speed while our core application stays rock-solid. It’s how we innovate without introducing instability.
Core Branching Concepts at a Glance
Before we jump into the command line, let's get a few key terms straight. Understanding these concepts will make the whole process click. This table is your cheat sheet.
Mastering version control is easily one of the most essential Web3 developer skills, and it's just as vital in traditional software development. The principles of clean, collaborative coding are universal.
And while you're leveling up your workflow, knowing the https://blog.dreamspace.xyz/post/best-ai-for-programming can give you an extra edge, especially when working with an AI app generator like Dreamspace.
A branch in Git is just a lightweight, movable pointer to a commit. Creating one is an incredibly cheap and fast operation, which is why you should use them for everything—big or small. That agility is the whole point of the modern Git workflow.
Creating Branches with the Command Line
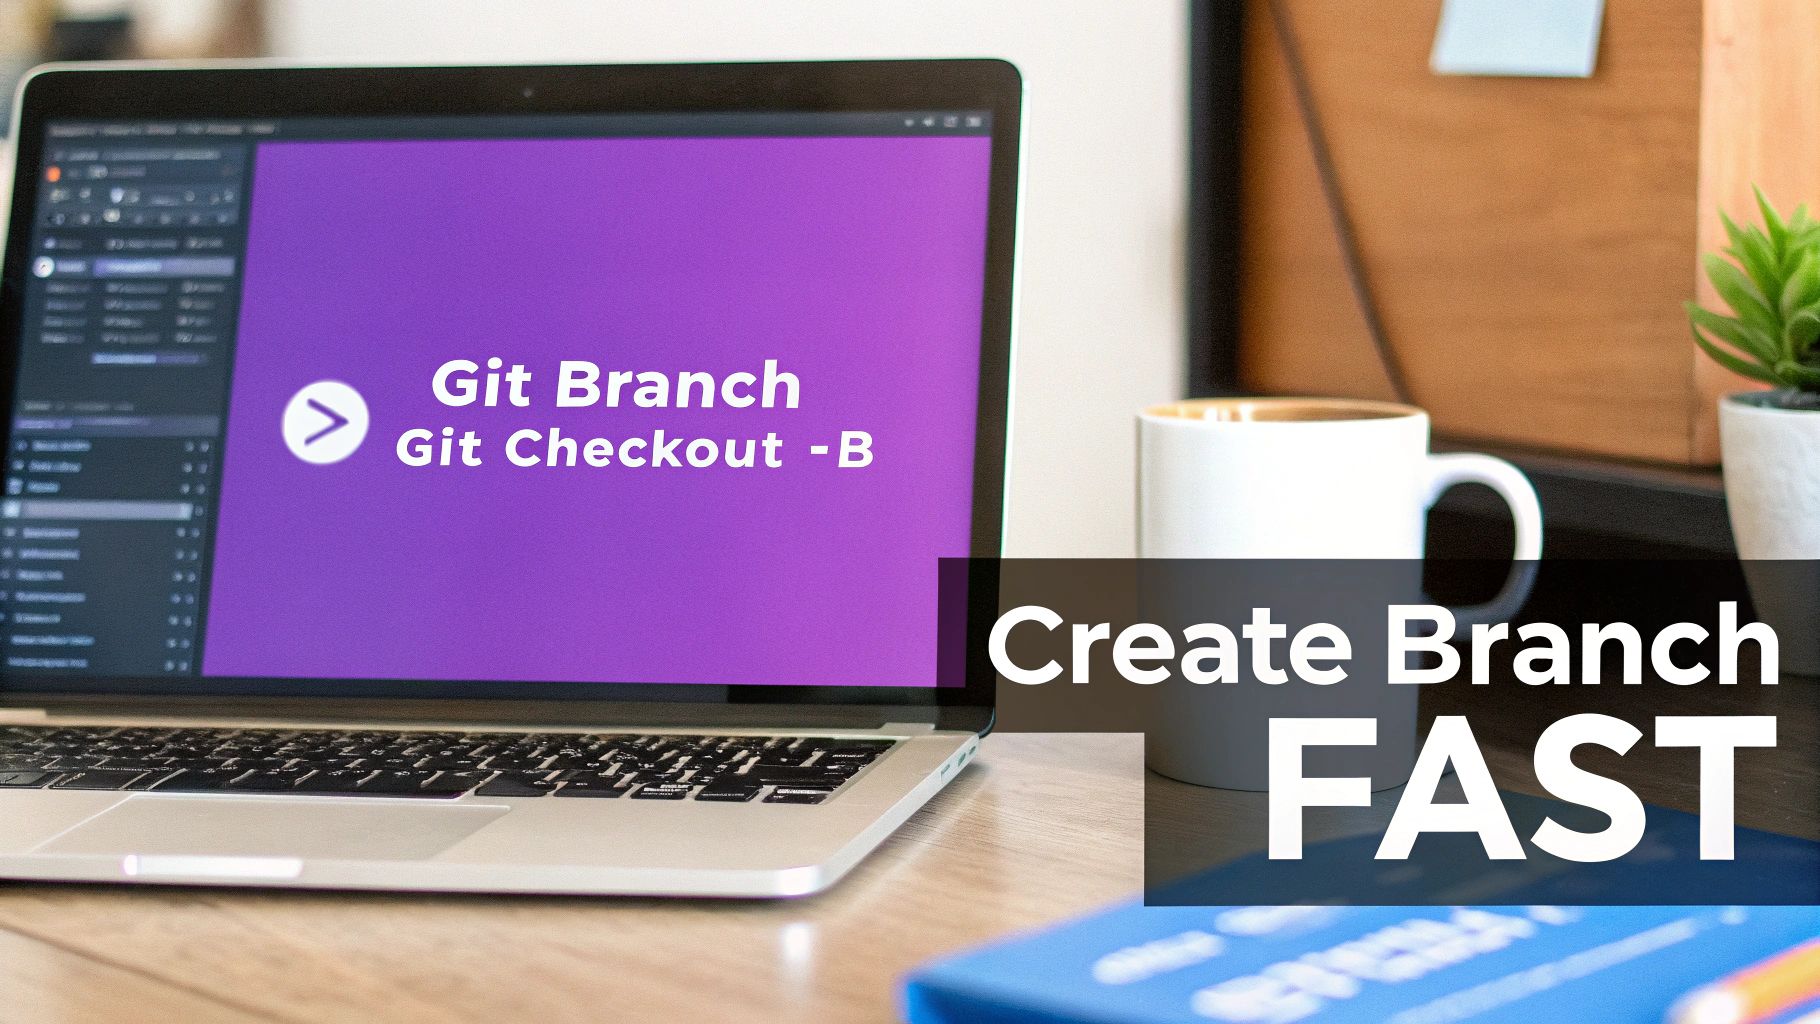
For a lot of us, the command line is home base. It's the most direct, powerful, and honestly, the fastest way to work with a codebase. When you need to spin up a new branch in GitHub, hopping into the terminal cuts straight to the chase, letting you bypass all the clicks of a UI.
The whole process really boils down to two core commands that you'll use constantly. First, you make the branch. Then, you switch over to it. Think of it like creating a new file and then opening it up to start typing.
The Two-Step Approach to Branch Creation
Let's walk through the classic method first. Say you've just been tasked with building out a new user authentication feature for your onchain app. A solid, descriptive branch name would be something like feat/user-auth.
To get started, you'll use the git branch command. This tells Git, "Hey, create a new pointer right here at my current commit," but it doesn't actually move you anywhere.
git branch feat/user-auth
Cool, the branch now exists. But if you check, you're still on your main branch. To actually start coding the new feature, you need to "check out" the new branch. That's where the git checkout command comes in.
git checkout feat/user-auth
Your terminal will pop back a confirmation, and you're officially on the feat/user-auth branch. Now, any code you write will be safely sandboxed here, leaving your main branch clean and protected. This two-step process gives you a lot of control, but there’s an even better shortcut.
The Power Shortcut: Create and Switch Instantly
In development, every second counts. That's why most developers combine those two steps into a single, fluid command. The git checkout command has a -b flag (think "branch") that creates the new branch and immediately switches you to it.
Let's take our same feat/user-auth example. Here’s how you'd do it all in one go:
git checkout -b feat/user-auth
This one command has pretty much become the universal way to kick off new work. It’s so fundamental that it’s baked into the daily workflow for teams everywhere. In fact, with over 90 percent of Fortune 100 companies on GitHub, you can bet this little command is a workhorse in their dev teams. You can read more about GitHub branching workflows to see why this method is so dominant.
The real beauty of the command line is its scriptability and speed. Once you build muscle memory for commands like
git checkout -b, you'll be creating branches and starting new features in seconds without ever taking your hands off the keyboard.
This approach is non-negotiable for anyone who's serious about getting good with Git. While UI tools have their place, mastering the command line gives you a much deeper feel for what's happening under the hood. At Dreamspace, our vibe coding studio, we rely on these fast commands to spin up new branches for everything from tiny bug fixes to major features for our AI app generator.
Using the GitHub Website to Create a Branch
While the command line is my go-to for heavy lifting, sometimes you just need a quick, visual way to get things done. For that, the GitHub website is perfect. It’s an incredibly straightforward method, especially for beginners, non-devs, or anyone who just wants to make a simple change without firing up a terminal.
This approach is all about making collaboration easier. At Dreamspace, our vibe coding studio, we’ve found that designers and project managers are way more comfortable contributing directly when they can use a familiar web interface. It just opens the door for everyone to be part of the process, especially when reviewing features built with our AI app generator.
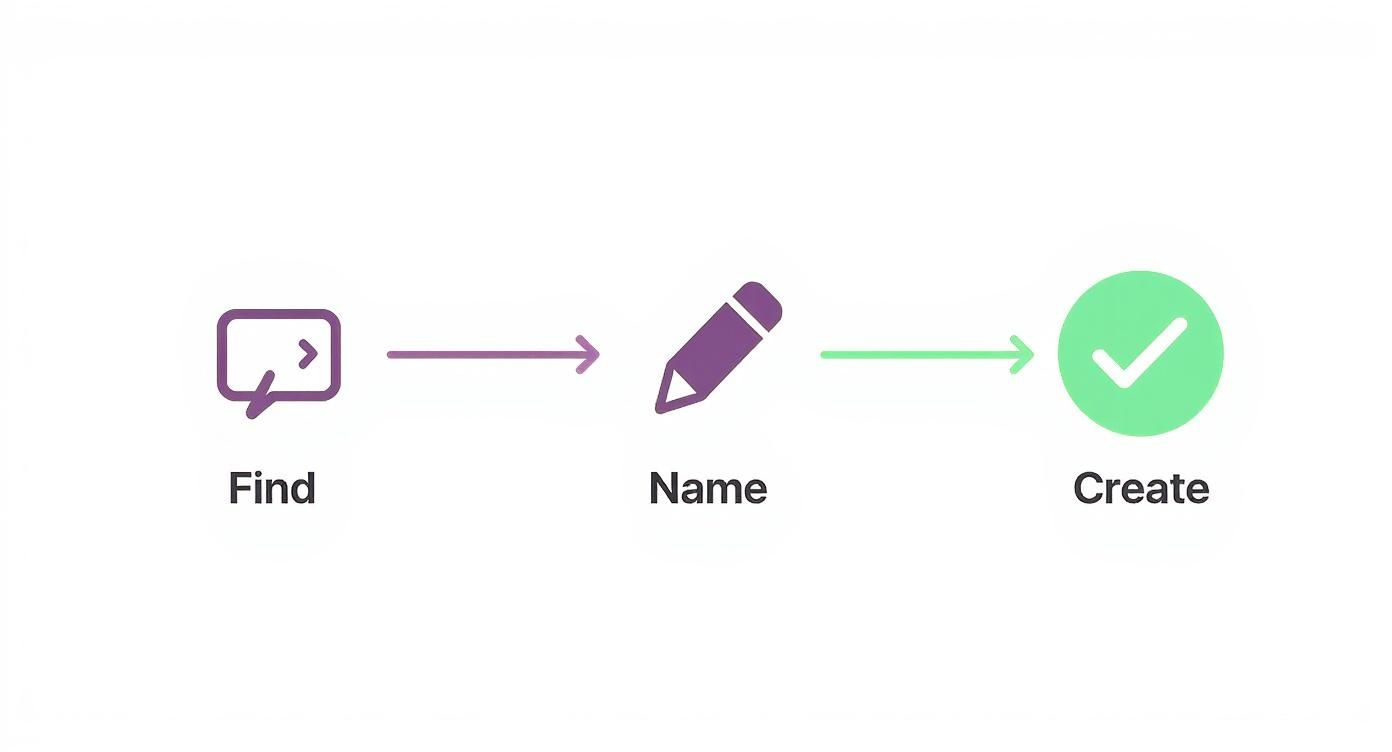
Let's say you've spotted a small typo in your project's README.md file. Creating a new branch for this fix is still the right call, and doing it right on the GitHub website takes just a few seconds.
Finding and Using the Branch Dropdown
First thing, head over to the main page of your repository on GitHub. You'll see a dropdown button, usually with main written on it, located just above your project's file list. This little button is your command center for switching between branches and creating new ones.
Here's what that branch dropdown looks like on a standard repo page.
This simple UI is where the magic happens. Once you click it, a text field pops up, prompting you to "Find or create a branch…"
To spin up your new branch, just start typing a descriptive name into that field. For our typo fix, something like fix/readme-typo is perfect. As you type, GitHub instantly recognizes that this branch doesn't exist yet and offers to create it for you.
GitHub's UI does a fantastic job of making version control concepts like branching feel intuitive. By pulling these actions out of the terminal and into a visual space, it helps teams work together more smoothly, no matter how technical each person is.
This ease of use has been a total game-changer, making branching accessible to a much wider audience. For more complex workflows, GitHub even provides a REST API to manage branches programmatically, which is awesome for building custom tools and automations.
Finalizing Your New Branch
After you’ve typed in your branch name, GitHub shows you which branch it will use as the source. By default, this is your main branch, which is almost always what you want.
Here’s the rundown:
- Click the branch dropdown on your repository’s main page.
- Type your new branch name (e.g.,
fix/readme-typo) into the text field. - Click the “Create branch” option that appears.
And that’s it! GitHub automatically creates the new branch and switches your view over to it. You’re now on the fix/readme-typo branch, ready to click into the README.md file, make your edit, and commit the change—all without ever leaving your browser.
Sharing Your Work: Pushing a New Branch to GitHub
So you’ve created a new branch on your local machine. That's a great start, but right now, it’s living in its own little world. Your team can't see it, review it, or even know it exists. To bridge that gap, you need to "push" it up to the remote repository on GitHub. This is the key step that makes collaboration possible.
The command you'll use is git push, but the very first time you push a new branch, you need to give Git a little more information to connect the dots.
Your First Push: Making the Connection
Let's stick with our feat/user-auth branch. You've made some commits, and now it's time to share your progress. Open your terminal and run this:
git push -u origin feat/user-auth
I know, it looks a bit clunky, but it's pretty straightforward. You're telling Git to push your local feat/user-auth branch to the remote repository you’ve named origin (which is the standard default).
The most important piece of this command is the -u flag. It’s a shortcut for --set-upstream, and it does something incredibly useful: it links your local branch to the new remote one. This creates a "tracking" relationship. From this point on, you can just use git push or git pull from that branch, and Git will know exactly where to send your changes or get updates from. It’s a one-time setup that seriously streamlines your workflow.
If you prefer starting on the web, this simple flow shows how to create a branch directly in the GitHub UI.
Ultimately, whether you create the branch locally or on the web, pushing it is what gets your code into the shared space where your team can collaborate.
Think of the
-uflag like giving a friend your new address for the first time. You give them the full details once. After that, they know exactly where to find you without needing directions every single time.
This workflow is the backbone of how we build at Dreamspace, a vibe coding studio where we innovate daily. It's how our developers share progress on our AI app generator, allowing us to get quick feedback and merge new features without tripping over each other. For anyone looking into cloud-based coding environments, our guide on Replit alternatives covers some great tools that pair perfectly with a solid GitHub workflow.
After you push, pop over to your repository on GitHub. You'll almost always see a yellow banner at the top telling you that a new branch was just pushed, complete with a convenient button to open a Pull Request. That's your confirmation—your work is officially shared and ready for review.
Local vs Remote Branch Commands
It's easy to get confused about which Git commands affect your local machine versus the remote repository on GitHub. This table should help clear things up.
Knowing this distinction is crucial. Local commands are for your personal workspace—organizing your work and making commits. Remote commands are for syncing up with your team.
Smart Branching Habits for Cleaner Code
Knowing the commands is just the first step. The real skill comes from building smart habits that keep your repository clean, your team in sync, and your whole development process flowing.
Let's be real—a messy branch history is a recipe for disaster. It creates confusion, sparks nasty merge conflicts, and slows everyone down. A little discipline upfront pays huge dividends for your project's health and your team's sanity.
Adopt a Sensible Naming Convention
This is the single most impactful habit you can form right now. A good branch name tells you exactly what it's for at a glance, no code-digging required.
The easiest way to do this? Prefixes.
feature/: Use this for building new things. Thinkfeature/user-authentication.bugfix/: When you're squashing a bug. Something likebugfix/fix-login-error.chore/: For routine maintenance that isn’t a new feature or a bug fix. A perfect example ischore/update-dependencies.
This simple convention instantly brings order to the chaos. When you run git branch, you get a beautifully organized list that tells a clear story about what's happening in the project.
A clean branching strategy is like a well-organized workshop. When every tool has its place, you can find what you need instantly and get to work without friction. The same principle applies to your codebase.
This organization becomes even more powerful when you're working with automation. At our vibe coding studio, we often use the Dreamspace AI app generator to scaffold new projects. We’ll keep that initial code on a dedicated branch, maybe ai/initial-scaffold.
This isolates the AI-generated code from our own feature branches, making it a breeze to track and merge updates from the generator without creating a tangled mess.
Keep Branches Short-Lived and Focused
Here’s another golden rule: keep your branches small and dedicated to a single task. A branch that lingers for weeks and touches a dozen different files is a ticking time bomb.
The longer a branch lives, the more it drifts away from main. That just makes the final merge a painful, high-stakes event.
Instead, break big features down into smaller, bite-sized tasks. Give each one its own branch. A branch should solve exactly one problem. Once it's solved, merge it and delete it. This "small and often" approach dramatically cuts down on merge complexity and makes code reviews way faster and more effective.
Ultimately, these habits aren't just about clean code; they directly boost overall developer productivity.
And if you're curious about how AI can help you stay organized, check out our post on choosing the right AI-powered coding assistant. A good tool can help you maintain these habits without even thinking about it.
Got Questions About GitHub Branches? We've Got Answers
Once you get the hang of creating branches in GitHub, a few questions almost always come up. These are the little details that can trip you up when you're in the zone. Let's tackle them head-on so you can branch with confidence.
What’s the Deal with 'git branch' vs. 'git checkout -b'?
This one comes up all the time. Think of it like this:
git branch <new-feature> creates the new branch, but it leaves you right where you are. You've essentially drawn a new path on the map, but you haven't taken a step down it yet.
git checkout -b <new-feature> is the slick, two-for-one command most developers use. It not only creates the branch but immediately switches you over to it. This is usually exactly what you want when you're ready to start coding something new.
I like to think of
git branchas making a plan to go somewhere.git checkout -bis making the plan and instantly teleporting there. It's just more efficient.
How Do I Get Rid of a Branch on GitHub?
Keeping your repository clean is just good practice. Getting rid of old, merged branches involves a quick one-two punch if the branch is on both your machine and on GitHub.
- To nuke the local branch, you'll run
git branch -d <branch-name>. The -d flag is your friend here—it’s a safety net that stops you from accidentally deleting a branch that hasn't been merged. - To remove it from GitHub, the command is
git push origin --delete <branch-name>. This tells the remote repository, "Hey, we don't need this one anymore."
Pro tip: Make it a habit to delete your branch right after your Pull Request gets merged. Your future self will thank you.
Can I Create a Branch from Another Feature Branch?
Totally. This is actually a super common workflow, especially when you're tackling a massive feature. It lets you break down a huge task into smaller, more manageable chunks.
From your terminal, just make sure you’re on the parent branch first (git checkout <parent-feature-branch>) and then run your usual git checkout -b <child-feature-branch>.
It works the same way on the GitHub website. Just use the dropdown to select your main feature branch as the source before you type in the name for your new, smaller branch. This is a common practice at Dreamspace, our vibe coding studio, for managing complex updates to our AI app generator.
What Happens If I Forget to Push My Branch?
If you create a branch locally and never push it, it’s basically a ghost. It only exists on your computer.
This means your teammates can't see your code, you can't open a Pull Request to get feedback, and if your hard drive crashes, that work is gone forever. Pushing your branches is fundamental for collaboration and, frankly, for not losing your own work.
Ready to bring your onchain app ideas to life without getting tangled in code? Dreamspace is a vibe coding studio that lets you generate production-ready crypto apps with AI. Build smart contracts, query blockchain data, and launch your project faster than ever. Get started at https://dreamspace.xyz.