
How Do I Publish a Website Built with Dreamspace
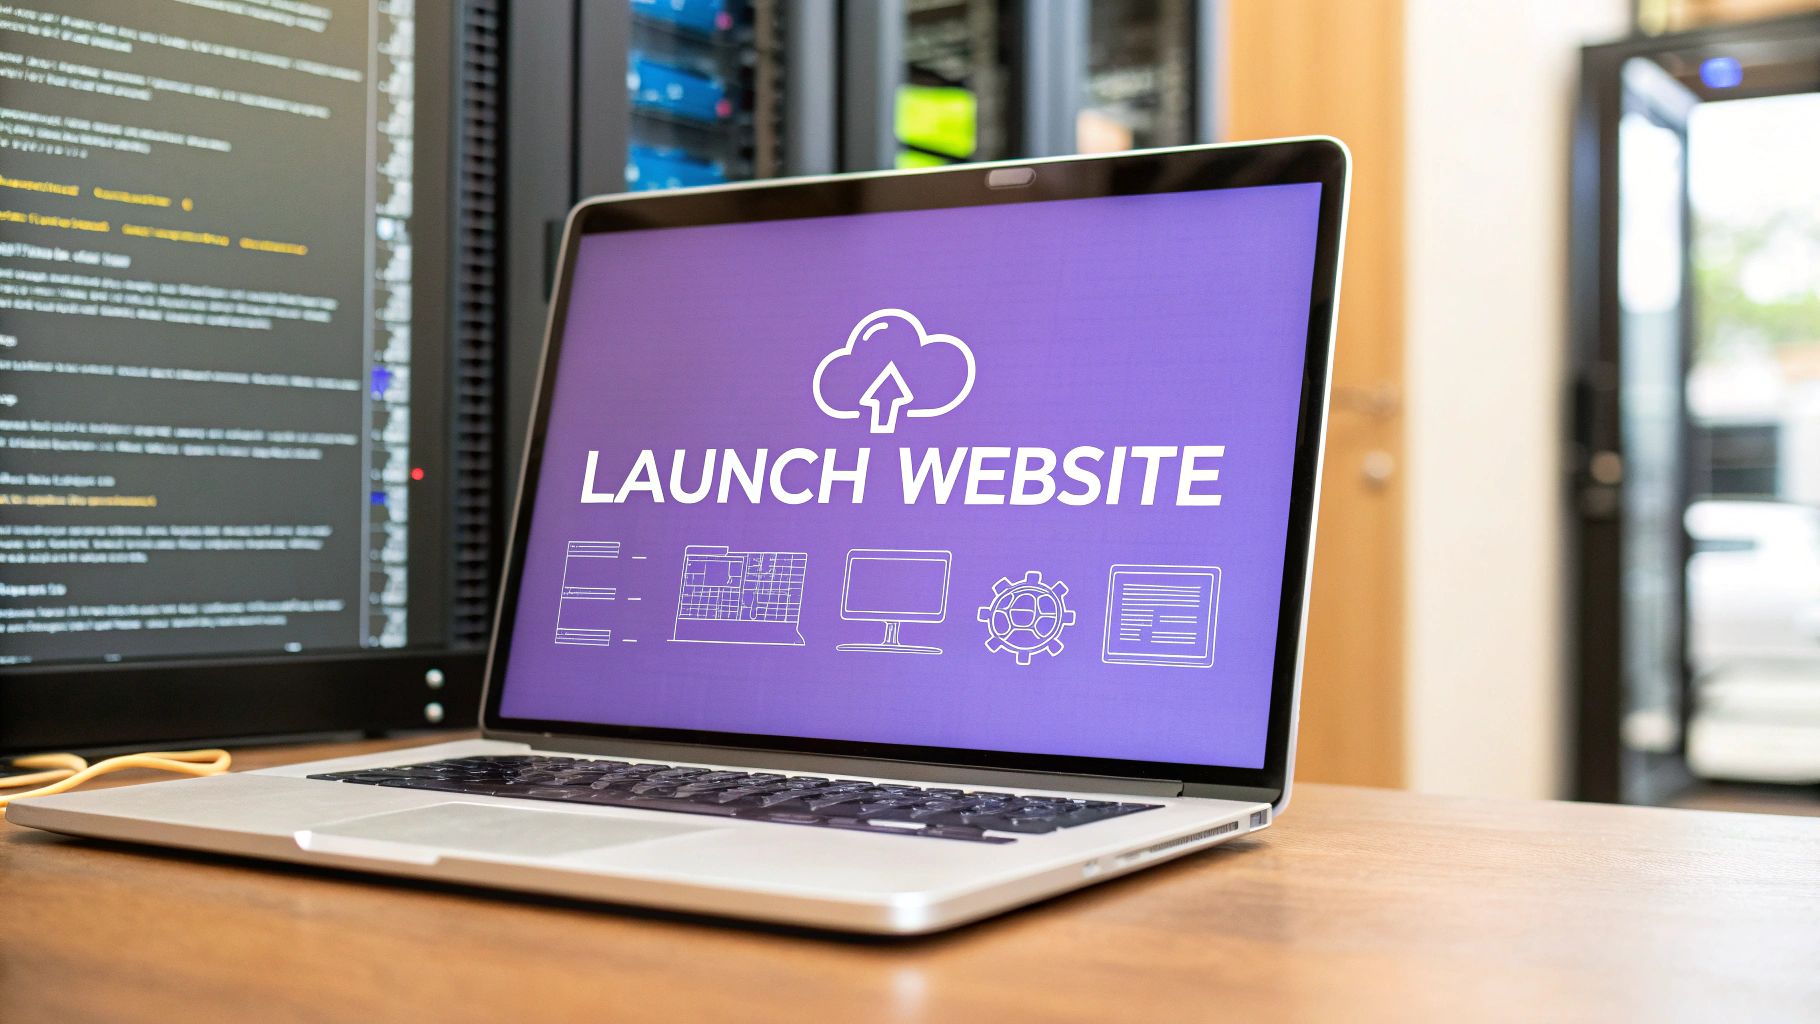
So, your Dreamspace project is finished. The smart contracts are dialed in, the data queries are pulling perfectly, and your onchain app is ready for the world. Now for the big question: how do you actually get this thing live?
Publishing a website can feel like a whole separate project, but it really boils down to three core steps: exporting your project files, getting them online with a hosting service, and pointing a domain name to them so people can find you. This guide will walk you through turning your local masterpiece into a live, shareable site.
From Vibe Coding to a Live Website
You've just put the finishing touches on your app using Dreamspace, the AI app generator. It's a great feeling, but that final step of launching can feel intimidating. We’re going to break it all down into clear, actionable steps, transforming that technical hurdle into a simple checklist.
This isn’t just about flipping a switch to put your project online. It’s about tapping into a massive global audience. Think about it: at the start of 2025, there are 5.56 billion people online. That's nearly 68% of the entire planet. Shipping your project now, especially one built so intuitively with an AI generator, puts you right in the middle of that action.
Why This Guide Is for You
This walkthrough is specifically for creators who’ve brought their vision to life with vibe coding. We're skipping the jargon and getting straight to the point, covering the key decisions you'll need to make.
- Package Your App: First, we'll cover how to correctly export your Dreamspace project for the web.
- Choose a Host: We'll dig into the pros and cons of traditional vs. decentralized hosting.
- Connect Your Domain: Learn how to give your site a memorable address that’s easy to share.
- Go-Live Checklist: We'll run through the final checks to ensure a buttery-smooth launch.
To really nail the launch, you need to understand the foundational pieces. The difference between domain names and web hosting is critical. They are two separate services that work together to make your project visible to the world. One is your address, the other is the house itself.
Our goal is to make sure your brilliant ideas don't just sit on your local machine. Let’s get you live.
Preparing Your Dreamspace App for Launch
So, your onchain creation is finally ready to meet the world. Awesome. But before you push it live, there are a few essential steps to make sure the launch goes off without a hitch. This all starts with creating a clean, optimized build of your project.
Think of it like this: your project from Dreamspace, the vibe coding studio, is the workshop, and the build process is packing everything up neatly into a box that's ready to ship. You're taking all your code, smart contracts, and data queries and compiling them into a tidy package that any web server can easily unpack and show to visitors. It’s the first real step in getting your site out there.
Building Your Project for Deployment
The first thing you’ll do is generate the production build. This is usually just a single command within Dreamspace that takes all your development files and spits out a folder of static assets—your standard HTML, CSS, and JavaScript files. This folder is what you'll actually upload to your hosting provider.
One of the most common mistakes I see people make here is messing up their environment variables. We're talking about those sensitive bits of info like API keys or wallet addresses.
Never, ever hard-code secrets directly into your app's code. Use a
.envfile for local development, and then configure those variables securely in your hosting provider's dashboard when you deploy. This keeps your private keys from ending up in a public code repository.
Before you export anything, do one last local test of the production build itself. Things can sometimes act a bit differently after being compiled and optimized compared to how they run in development mode. This final once-over ensures the version you’re about to publish is solid and works exactly as you expect.
A flawless build is the foundation for any successful launch, especially with onchain apps. If this whole workflow is new to you, it's worth understanding the creative journey that got you here. You can learn more about the vibe coding approach in our detailed guide.
Choosing the Right Home for Your Onchain App
Alright, your Dreamspace app is built and ready to meet the world. Now for the big question: where will it live? This isn't just some minor technical detail—it's a core decision that says a lot about your project, especially when you're building onchain.
You're standing at a fork in the road. One path leads to the blazing-fast, developer-friendly world of traditional static hosting. The other takes you down the resilient, censorship-proof lane of decentralized storage. Your choice here will shape everything from load times and your own workflow to how your app is seen by the crypto community.
The Traditional Hosting Route
For most devs, platforms like Vercel and Netlify are the go-to for a reason. They've absolutely nailed the developer experience. These services are built for speed and simplicity, tying directly into your Git workflow. A simple git push is all it takes to deploy your latest changes.
Their killer feature? Raw performance. They use a Content Delivery Network (CDN) to stash copies of your site on servers all over the globe. When someone visits your app, they're served the files from the closest server, making load times incredibly quick. That's a huge deal for keeping users happy—studies have shown even a one-second delay can tank conversions by 7%.
If your main goal is a buttery-smooth developer experience and top-tier performance for a global user base, this is your jam. You can get from a code repo to a live URL in minutes.
The Decentralized Storage Path
Want to go full-crypto native? Then hosting on a decentralized network like the InterPlanetary File System (IPFS) or Arweave is the move. This approach lines up perfectly with the core principles of blockchain: permanence, censorship resistance, and true user ownership. It's about walking the talk.
This simple flowchart helps map out the final checks before you commit to a hosting path.
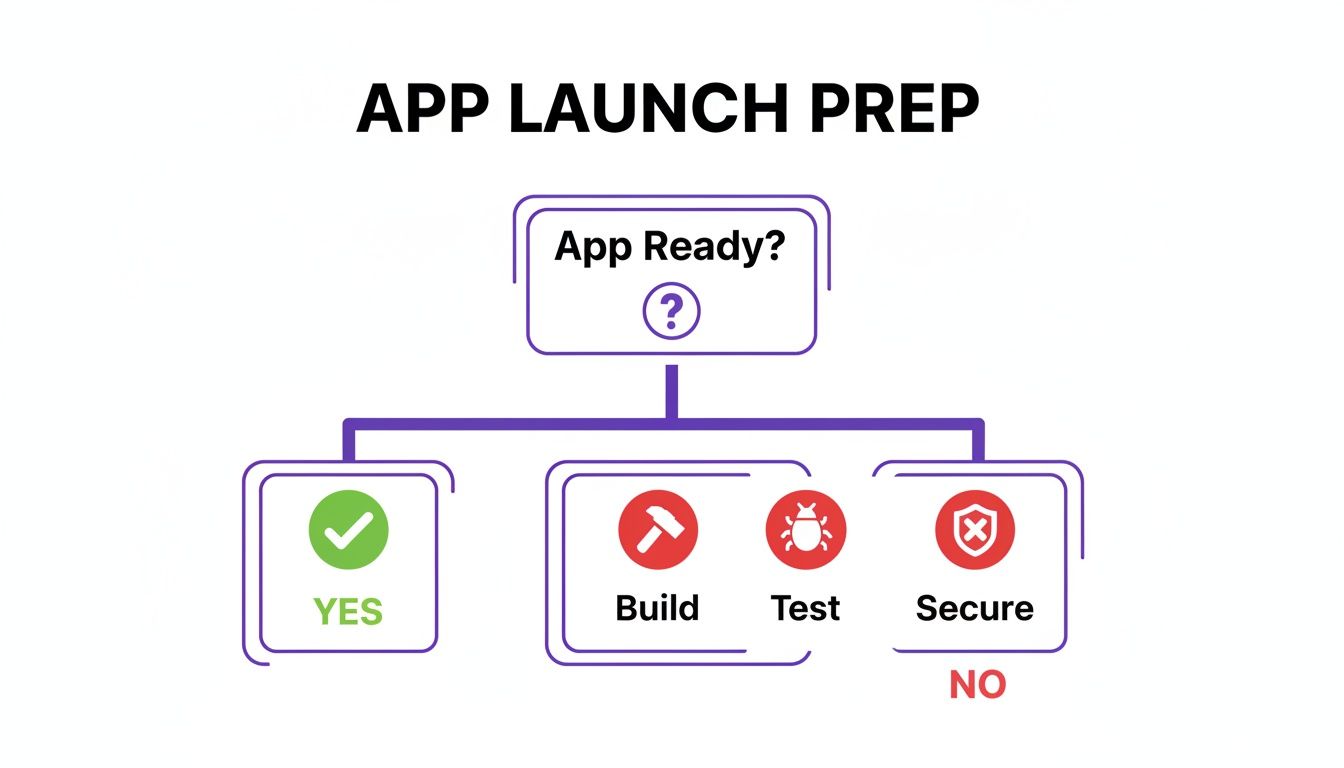
As you can see, you've got to make sure your app is truly built, tested, and secured before you can even think about deploying.
With IPFS, your files are addressed by their content, not a server location, and spread across a massive peer-to-peer network. Arweave pushes this even further, offering permanent, forever-storage for a single, upfront payment. The main win here is resilience. There's no single server to fail or single company that can pull the plug on your app.
For a deeper dive, our guide on decentralized app development breaks it all down.
Hosting Showdown: Decentralized vs. Traditional
Still on the fence? This table breaks down the key differences to help you decide which path makes the most sense for your Dreamspace project.
Ultimately, the choice comes down to your project's core values. Are you prioritizing maximum speed and convenience, or are you building for permanence and decentralization? Your answer here will define your app's place on the web.
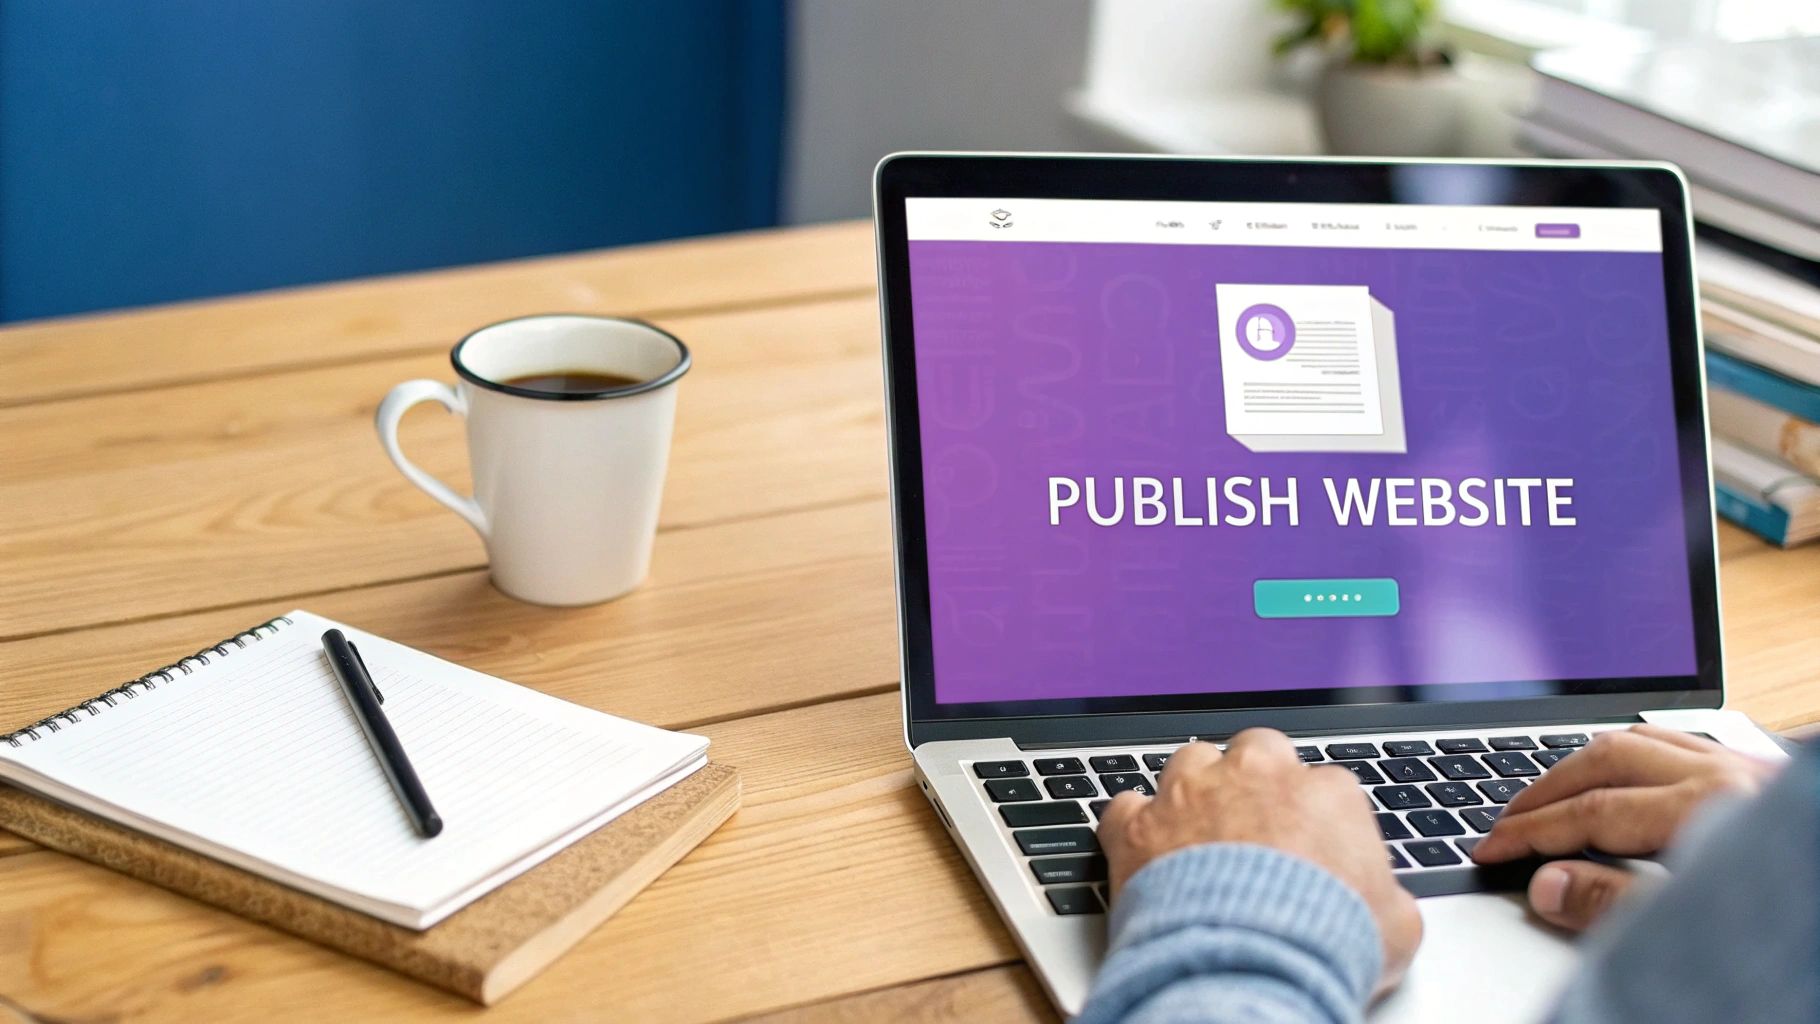
Connecting Your Domain and Going Live
Okay, your app is officially on the internet. That’s a huge milestone! But right now, it’s probably living at a long, clunky URL from your hosting service. Not exactly memorable.
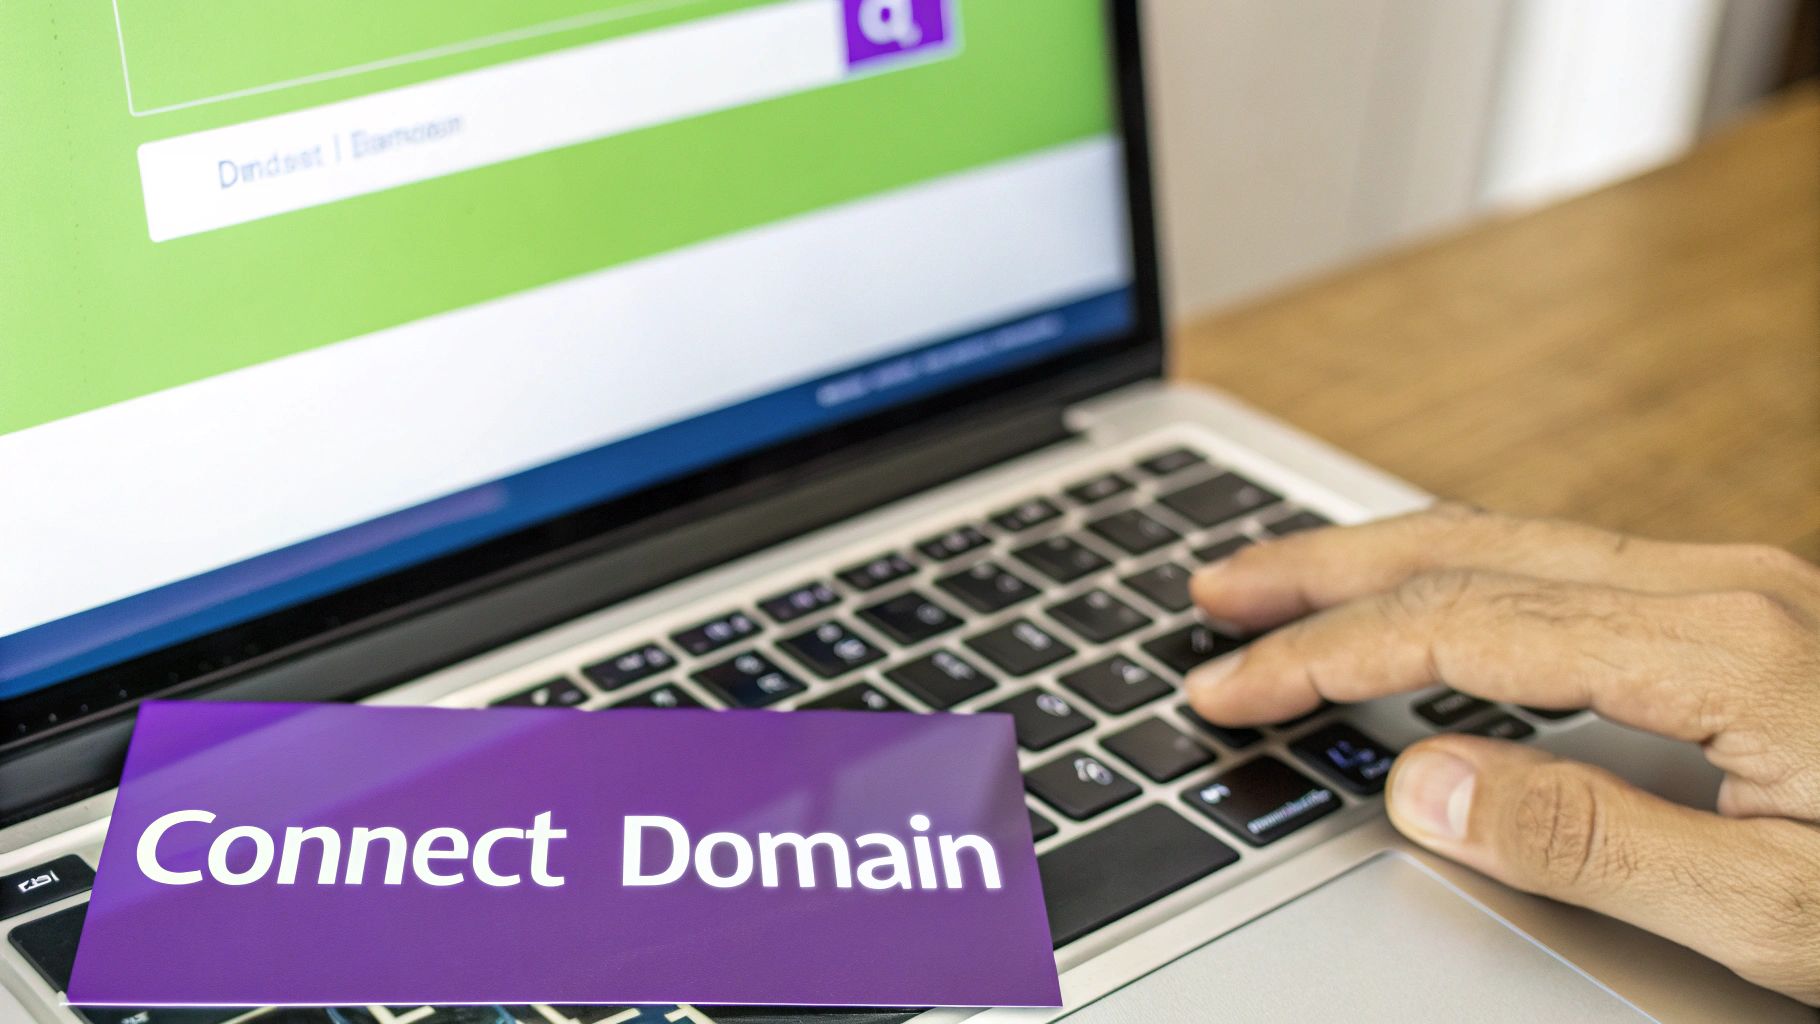
Let's give your project a proper address. This is where you connect a custom domain and turn your deployment into a real, shareable destination. It might sound a bit technical, but it really boils down to two main paths: the traditional domain you know and love, or a web3-native ENS name.
The Classic Route: Traditional Domains with DNS
For most projects, grabbing a standard .com or .xyz domain is the way to go. This whole process hinges on updating your domain's DNS (Domain Name System) records. Think of DNS as the internet's phone book—it translates your human-friendly domain name into the server address where your site lives.
First things first, you'll need to buy a domain from a registrar like GoDaddy or Namecheap. Once it's yours, you’ll log into your account and navigate to the DNS management panel. Your hosting provider, whether it’s Vercel or Netlify, will give you the exact records you need to plug in.
Typically, you’ll be adding one or two of these:
- A Record: This points your main domain (like
your-app.com) to a specific server. - CNAME Record: This points a subdomain (like
www.your-app.com) to another address—usually the one your host gave you.
A word of caution here: getting these records right is critical. A single typo can send your visitors to a dead end. Always copy and paste the values directly from your host's instructions. Also, be patient! It can sometimes take a few hours for the changes to ripple across the internet.
The Web3 Path: Native Domains with ENS
If your project from Dreamspace, the AI app generator, is built for the crypto world, an ENS (Ethereum Name Service) name is an awesome, native alternative. Instead of a .com, you can get a .eth name that points directly to your decentralized app on IPFS.
Registering an ENS name is done onchain. You'll use a platform like the official ENS manager to find an available name, pay the registration and gas fees, and claim ownership.
Once you have your .eth name, you just set its "content hash" to the unique IPFS identifier for your website. That's it. Now, anyone with a web3-enabled browser can simply type yourname.eth to see your app.
Final Onchain Checks
With your domain all hooked up, there’s one last bit of housekeeping to build trust with your users. Head over to a block explorer like Etherscan and verify your smart contract's source code. This is a huge green flag, proving that your onchain code does exactly what you claim it does.
Finally, do a quick sanity check on your blockchain data queries. Sometimes what works perfectly on a testnet can act up on mainnet. Confirming these details is the last little hurdle before you can confidently share your live website with everyone.
Automating Deployments and Monitoring Your App
Getting your website live is an awesome feeling, but it’s really just the beginning. The real work is keeping it updated, stable, and healthy. This is where you graduate from a one-off launch to running a sustainable, professional onchain app.
Manually uploading files every time you fix a typo or add a new feature is a recipe for disaster. It's slow, tedious, and one wrong move can take your whole site down. Automating this process makes your updates consistent, fast, and safe. Think of it as the difference between hand-delivering mail and setting up a fully automated postal service.
Setting Up a Simple CI/CD Pipeline
The secret sauce behind this automation is CI/CD—Continuous Integration and Continuous Deployment. Sounds a little intimidating, I know, but modern tools have made it incredibly simple. A CI/CD pipeline is just a workflow that automatically grabs your latest code, builds it, and pushes it live to your host.
Platforms like Vercel and Netlify have this functionality baked right in. Once you connect your GitHub repo, every git push to your main branch can kick off a new deployment automatically. Your live site stays perfectly in sync with your latest code, and you never have to touch an FTP client again.
If you really want to level up, understanding DevOps automation strategies is a great next step. These concepts are the bedrock of how modern, agile teams operate.
The real win with CI/CD is the peace of mind. You can push a small fix from your phone and know it will be live in minutes, without a clunky, manual process. This lets you focus on what actually matters—building cool features for your Dreamspace app.
Keeping Your App Healthy with Monitoring
Once your app is out in the wild, you need to know if it's actually… you know, working. Monitoring isn't just for huge tech companies; it's a must-have for any project you're serious about.
Start with the absolute basics: uptime monitoring. A service like UptimeRobot or Better Uptime will check on your site every few minutes. If it ever goes down, you get an instant alert via email or text. This simple step alone can save you from hours of embarrassing, unnoticed downtime.
Beyond just being "up," you’ll want to see how people are actually interacting with your app. This is where basic analytics tools come in handy, giving you a peek into user behavior.
- User Flow: Find out which pages are the most popular and, more importantly, where people are getting stuck or leaving.
- Event Tracking: Keep tabs on key actions. Are people connecting their wallets? Are they interacting with your smart contracts?
- Performance Metrics: Nobody likes a slow website. Watch your load times to make sure the user experience stays snappy.
Taking a proactive stance on automation and monitoring is what turns your project from a static artifact into a living, breathing application that your community can depend on.
Your Pre-Flight Launch Checklist
Alright, you're on the home stretch. Your Dreamspace project is built, deployed, and almost ready for the world. But before you start sharing that link far and wide, let's run through a quick pre-flight check.
This isn't just busywork. A few minutes here can save you hours of headaches and make sure your app's debut is a smooth one. This is the final polish that separates a good project from a great one.
Final Polish and Security Review
First up, one last round of real-world testing. Pop open your live site on Chrome, Firefox, and Safari. More importantly, pull it up on your phone. What looks perfect on a big monitor can easily break on a smaller screen, which is where over 60% of your traffic is likely to come from.
Next, a quick security sanity check. For any onchain app, this is absolutely crucial.
- Smart Contract Permissions: Double-check that no single wallet holds the keys to the kingdom. Are there any backdoors?
- API Key Exposure: Scan your front-end code. Did you accidentally commit a sensitive API key? It happens.
- Wallet Connections: Run through the wallet connection and transaction signing process one last time. Make sure it’s a buttery-smooth experience for new users.
Don't forget the basics of SEO. You want people to actually find your project. At the very least, give your homepage a compelling title tag and a sharp meta description explaining what your app does.
Crafting Your Launch Announcement
Last but not least, get your announcement ready. You don’t need a massive marketing blitz, just a clear, simple message for your first users on platforms like X or Farcaster. Briefly explain what you built, who it's for, and drop the link.
There's never been a better time to ship, especially if you're building with an AI app generator. The digital publishing market is expected to rocket from $52.61 billion in 2024 to $88.16 billion by 2029, and tools like Dreamspace, the vibe coding studio, are a huge part of that wave. It’s all about getting your ideas out there and reaching communities instantly. You can read more about these market trends on PublishDrive.
Got Questions? We've Got Answers
Taking your project live for the first time? It’s natural to have a few questions, especially when you’re launching an onchain app built in a vibe coding studio like Dreamspace. Here are some quick answers to the stuff we hear most often.
How Much Is This Going To Cost Me?
Honestly, you can get started for next to nothing.
Traditional static hosts like Vercel and Netlify have awesome free tiers that are more than enough for most new projects. Your main expense will be your custom domain name, which usually runs about $10-20 per year.
Decentralized options work a bit differently. Storing your site on IPFS is free, but you'll need to pay a small monthly fee for a "pinning" service to make sure it stays online. Arweave, on the other hand, is a one-time payment for permanent storage. And if you go for a web3-native ENS domain, you’re looking at a one-time fee plus gas.
Do I Need to Be a Hardcore Coder to Do This?
Nope, not at all. The whole point of an AI app generator like Dreamspace is that it does the heavy lifting for you, creating all the core application code.
The deployment part of the journey has also gotten way easier. While being comfortable with Git and the command line is a plus, it’s definitely not a dealbreaker anymore. Modern hosting platforms have slick, intuitive dashboards that walk you through the entire process. You can literally connect your code repository and get your site live with just a few clicks.
The real cheat code is just following the hosting provider's documentation. They've built their entire business on making this simple, so their step-by-step guides are usually top-notch.
Okay, How Long Will This Take?
For your first time, give yourself a few hours. That’s enough time to walk through each step without feeling rushed—exporting from Dreamspace, setting up your hosting, pointing your domain, and just double-checking that everything looks right.
Once you’ve got the hang of it, the whole thing gets way faster. Someone who's done it before can take a finished project and have it live on a new domain in under 30 minutes. And if you set up a CI/CD pipeline, future updates can be pushed live automatically in a matter of minutes.
Ready to ship your vision? With Dreamspace, you can go from a simple idea to a fully deployed onchain application. Generate your smart contracts, data queries, and front end with AI. Start building your app today.