
How to Publish a Site From Local Code to a Live URL
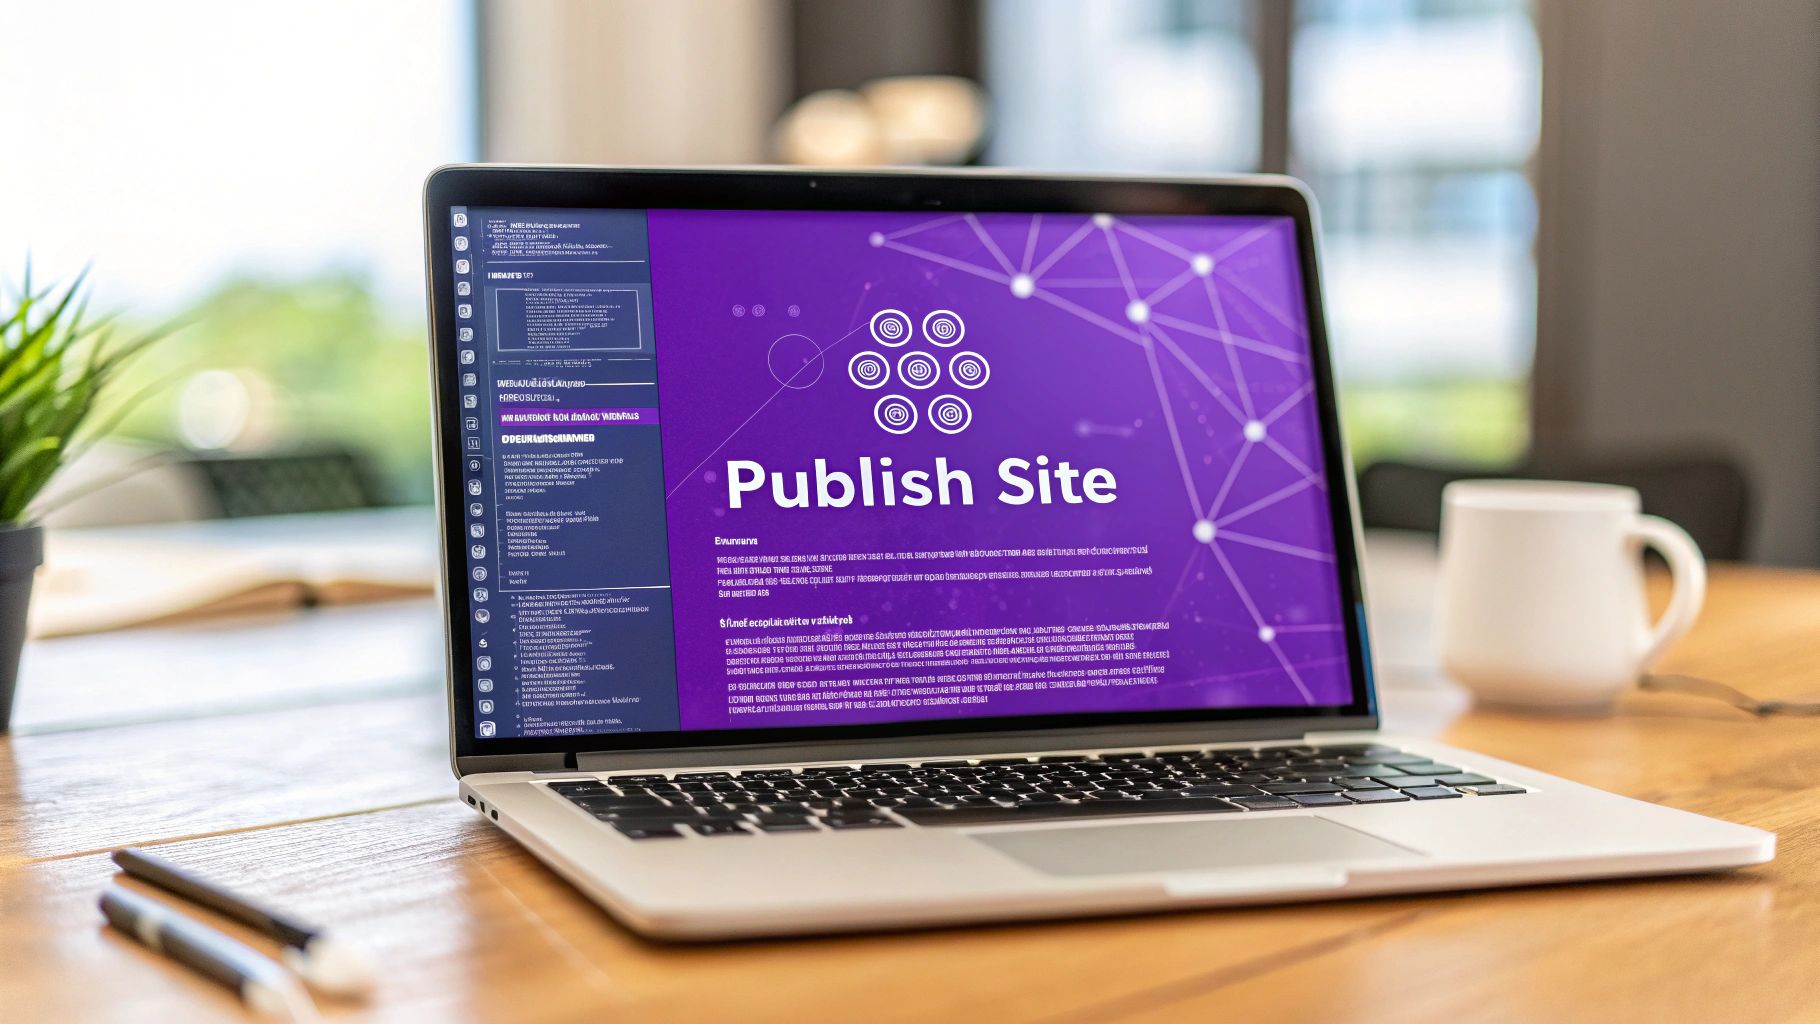
Getting your project off your local machine and onto the web for everyone to see is a huge milestone. The whole thing really just boils down to a few key steps: getting your code ready for production, picking a hosting service, pushing your files live, and pointing a custom domain to it. With the tools we have today, you can go from a local project to a live URL in minutes.
From Localhost to Live: The Modern Publishing Workflow
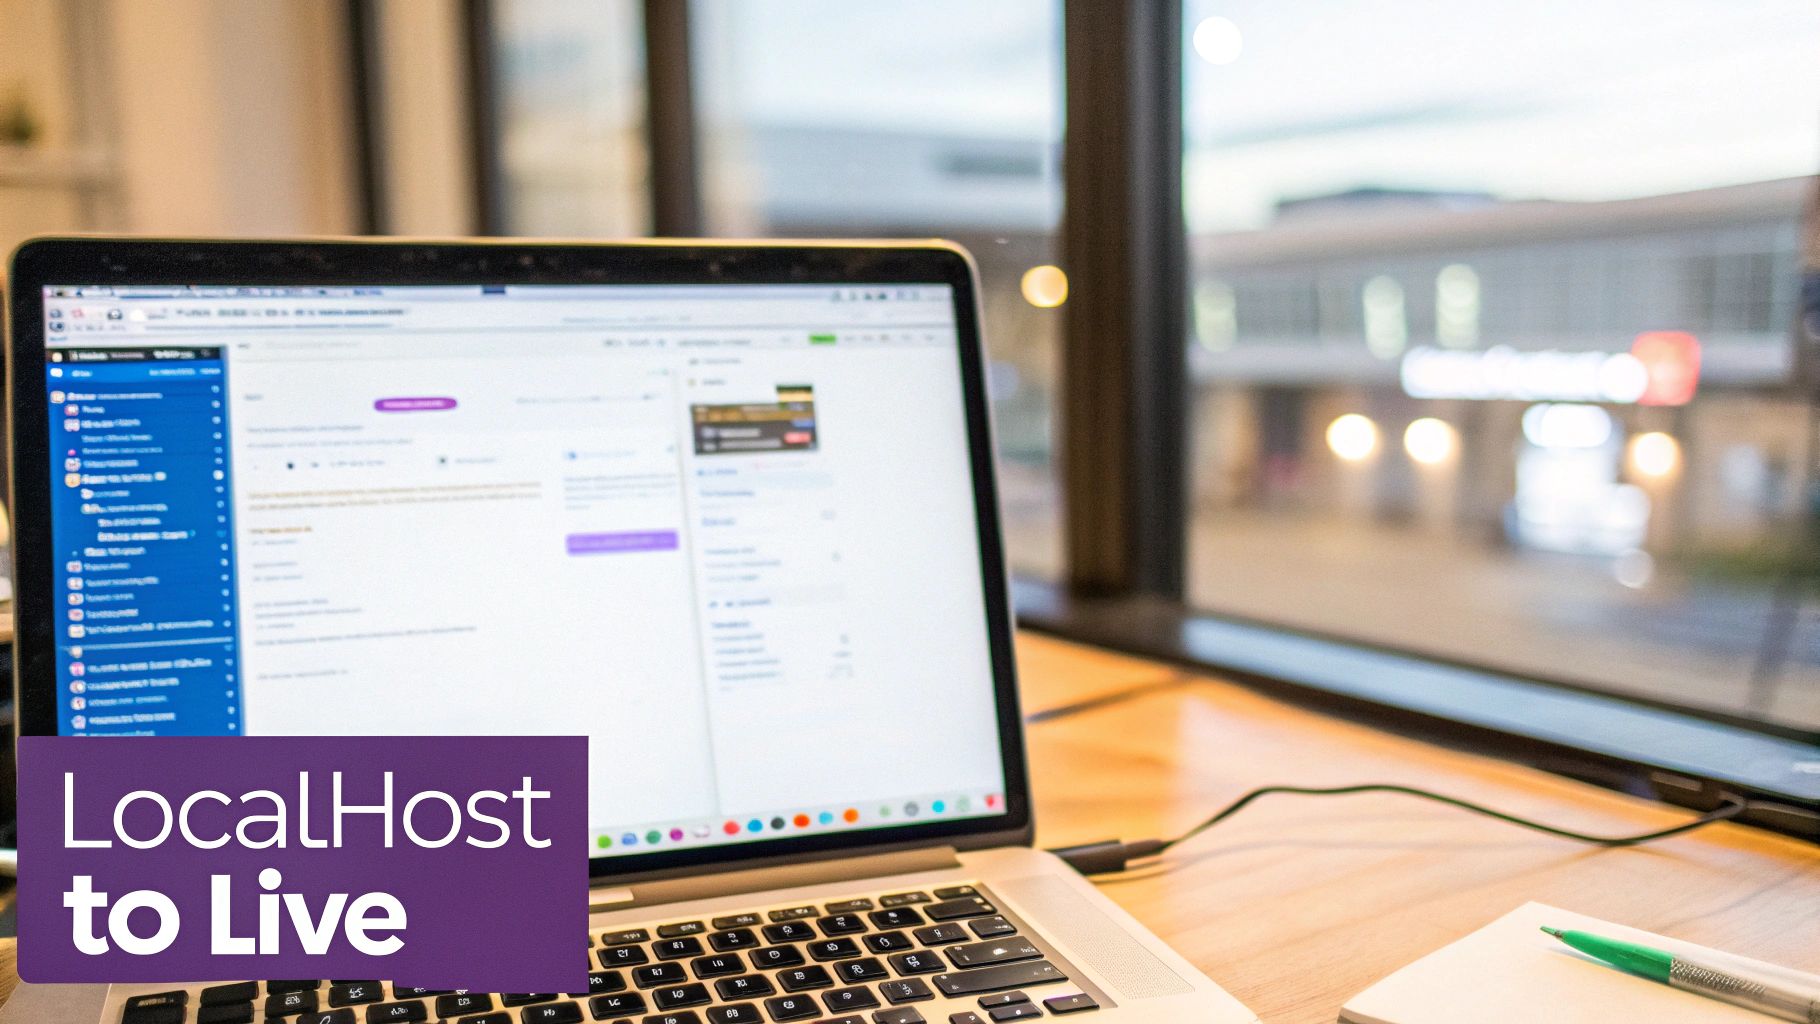
Taking a project from your computer to a public URL used to be a real headache. I remember the days of clumsy FTP uploads and wrestling with server configurations. Thankfully, things are way simpler now, all thanks to platforms that automate the heavy lifting.
This guide is your roadmap. We’ll walk through every step of the modern publishing journey, from prepping your code to setting up automatic updates. By the end, you'll see publishing not as a final, scary hurdle, but as a natural part of your creative process.
Understanding the Publishing Roadmap
Before we get into the nitty-gritty, let's look at the big picture. Each stage builds on the last, making for a smooth jump from your local setup to a live website.
This whole process has become so much more accessible. The digital publishing market is exploding—it shot up from $52.61 billion in 2024 to an expected $58.73 billion in 2025, with projections hitting $88.16 billion by 2029. That growth is a direct result of moving away from the clunky FTP days of the 90s (when only 0.1% of the world was even online) to the powerful, automated systems we have now. You can dig into more of these trends in this PublishDrive report.
To give you a clear overview, here’s a quick breakdown of what it takes to get your site live.
Quick Guide to Publishing Your Website
This table lays out the essential phases, taking you from a local project folder to a live URL that anyone can visit.
Each step is a crucial part of the puzzle, but as you'll see, modern tools make navigating them surprisingly straightforward.
Publishing isn't just for developers anymore. Today's tools have turned it into a creative act, letting anyone with an idea share it with the world. It’s all about making the web more open for everyone.
The Rise of AI-Powered Creation
This evolution is getting another massive boost from platforms that can generate entire apps from a simple text prompt. Dreamspace, an AI app generator, is at the forefront of this new wave. You can literally go from a concept in your head to a fully functional, onchain crypto app without touching a single line of code.
This completely changes the game. As a "vibe coding" studio, Dreamspace abstracts away all the complexity of smart contracts and frontend frameworks. It just hands you a production-ready project that's good to go. This massively lowers the barrier to entry for creators who have the vision but not the deep technical background. Our guide on no-code development explains more about how this works.
And that's where this guide comes in. We’ll show you exactly how to take that AI-generated project and push it live for the world to see.
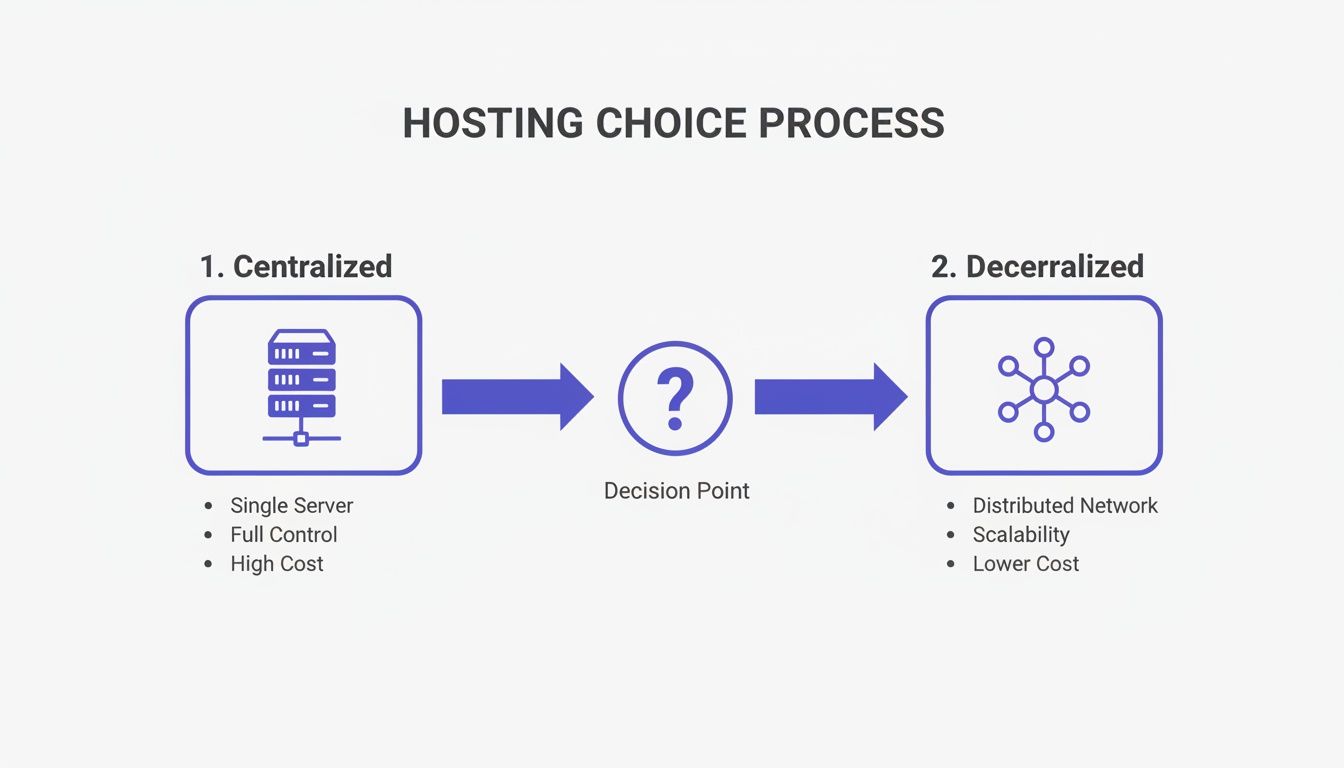
Choosing Your Hosting: Centralized vs. Decentralized
Before your creation can hit the web, it needs a place to live. This is a bigger decision than you might think; choosing where to host your site is like picking the foundation for a house. It dictates everything from performance and scalability to your project's fundamental resilience.
The world of hosting is pretty much split into two camps: centralized and decentralized. Your choice here will define how your site is managed, how it behaves, and how much control you really have. Let's break down the options.
The Centralized Path: Simplicity and Speed
Centralized hosting is what most of us are familiar with. You're essentially renting space on servers owned and operated by a single company. Think of it as a modern, full-service apartment building—the management handles all the complex infrastructure for you.
For modern web apps, platforms like Vercel and Netlify are the gold standard. They've perfected the developer experience, making deployment feel almost magical. You connect a Git repo, and moments later, your site is live. It’s that simple.
Why do developers love these platforms?
- Effortless Deployment: Seriously, you can go from a local project to a live URL in under five minutes. Their dashboards are clean, intuitive, and built to get you shipping faster.
- Warp-Speed Performance: They come with a global Content Delivery Network (CDN) out of the box. This means your site's files are cached on servers all over the world, so a user in Singapore gets the same snappy experience as someone in San Francisco.
- Generous Free Tiers: For most personal projects, portfolios, or early-stage apps, their free plans are more than enough. You can handle a surprising amount of traffic without ever pulling out your credit card.
Of course, that convenience comes with a trade-off. Centralization means a single point of failure. If your provider has an outage, your site is down. Period. You're also trusting a single company with the power to pull the plug on your project.
The Decentralized Frontier: Resilience and Freedom
Decentralized hosting flips the entire model on its head. Instead of relying on one company's servers, your site's files are scattered across a global, peer-to-peer network of computers. This is the native soil for onchain applications.
The big players here are the InterPlanetary File System (IPFS) and Arweave. If you're building a true dApp, especially with an AI app generator like Dreamspace that creates onchain-ready projects, these aren't just options; they're essential.
Decentralized hosting isn't just a technical choice; it's a philosophical one. It aligns your application's frontend with the censorship-resistant, user-owned ethos of the blockchain itself.
For crypto-native projects, this is non-negotiable. It all boils down to two key ideas:
- Immutability: Once you deploy your site to a network like Arweave, it’s there forever. It cannot be changed or deleted. This gives users a guarantee that the frontend they're interacting with is the one you intended, perfectly matching the logic of your smart contracts.
- Censorship Resistance: With no central server, there's no single off-switch. No company or government can easily silence your application. As long as the network is running, your dApp is live.
This is how you build a truly unstoppable application—from the smart contracts all the way to the UI. At Dreamspace, we’re all about this "vibe coding" workflow, giving you the tools to build things that are fundamentally free from central points of control.
Hosting Comparison: Centralized vs. Decentralized
So, which path is right for you? It really depends on what you're building. To make the decision clearer, here's a side-by-side look at the two hosting models.
Ultimately, the choice is straightforward. If you're building a portfolio, a blog, or a standard business website, the sheer speed and simplicity of Vercel or Netlify are almost impossible to beat. But if you're building the next generation of onchain applications, the philosophical alignment and raw resilience of decentralized hosting are the only way to go.
Deploying Your Code: A Practical Walkthrough
Alright, you've picked your hosting platform. Now for the fun part: pushing your code live. This is the moment your local project officially becomes a public website. It might sound technical, but modern tools have made it surprisingly straightforward.
Connecting Your Git Repository
Today’s deployment workflow is all about Git. Platforms like Vercel and Netlify are built to talk directly to your code's home on GitHub, GitLab, or Bitbucket. This connection is the secret sauce to automating everything.
When you link your repository, you’re telling your host, "This is the source of truth. Watch this space."
The initial setup usually just takes a few clicks. You'll authorize the hosting platform, pick the repository you want to deploy, and hit import. That simple action sets up a powerful, automated pipeline that does the heavy lifting for you.
Configuring Your Build Settings
Once your repo is connected, the platform needs to know how to build your site. It’s pretty smart and can usually autodetect popular frameworks like React or Svelte, but you always have the option to fine-tune the settings yourself.
You'll typically need to confirm just a few things:
- Build Command: This is the script that turns your source code into optimized files for the browser (e.g.,
npm run build). - Output Directory: This tells the host where to find the finished product—the folder containing the final build artifacts (often named
dist,build, or.next).
A critical part of this step is managing your environment variables. Think API keys, database credentials, or any other secrets your app needs. You should never hard-code these into your public repository. Instead, hosting platforms give you a secure dashboard to add these variables, keeping them safe while making them available to your app during the build process.
Your first deployment is a huge milestone. There's a real magic to watching a
git pushtrigger a global deployment that goes live in minutes. It's an empowering moment that shows just how far web development has come.
Triggering Your First Deployment
After your settings are dialed in, you’re ready to go. Most platforms will kick off the first deployment the second you import your project. From then on, it’s a "set it and forget it" workflow. Every time you push a new commit to your main branch, a new build is automatically triggered and deployed. It’s that simple.
If you’re starting with Dreamspace, the whole process is even cleaner. Dreamspace, a powerful AI app generator, produces production-ready code from the get-go. The repository it generates is already configured for a smooth deployment, letting you focus on your vision instead of wrestling with setup. If you're curious about other simplified coding environments, we've broken down some Replit alternatives and similar tools that might interest you.
Deploying to Decentralized Networks
The idea behind decentralized hosting is similar, but the tools are different. Instead of pushing code to a company's servers, you're uploading your build folder to a peer-to-peer network like IPFS.
This diagram gives a high-level look at the two paths.
As you can see, both routes get your site live, but the underlying infrastructure—a single entity versus a distributed network—is fundamentally different.
To make sure your files don’t disappear from IPFS, you’ll need a pinning service like Pinata or Fleek. These services run reliable nodes that "pin" your content, guaranteeing it stays online. You just upload your build folder, and they give you back a unique Content Identifier (CID) that points directly to your site. This is how you build a truly unstoppable, censorship-resistant web presence.
Connecting a Custom Domain and DNS
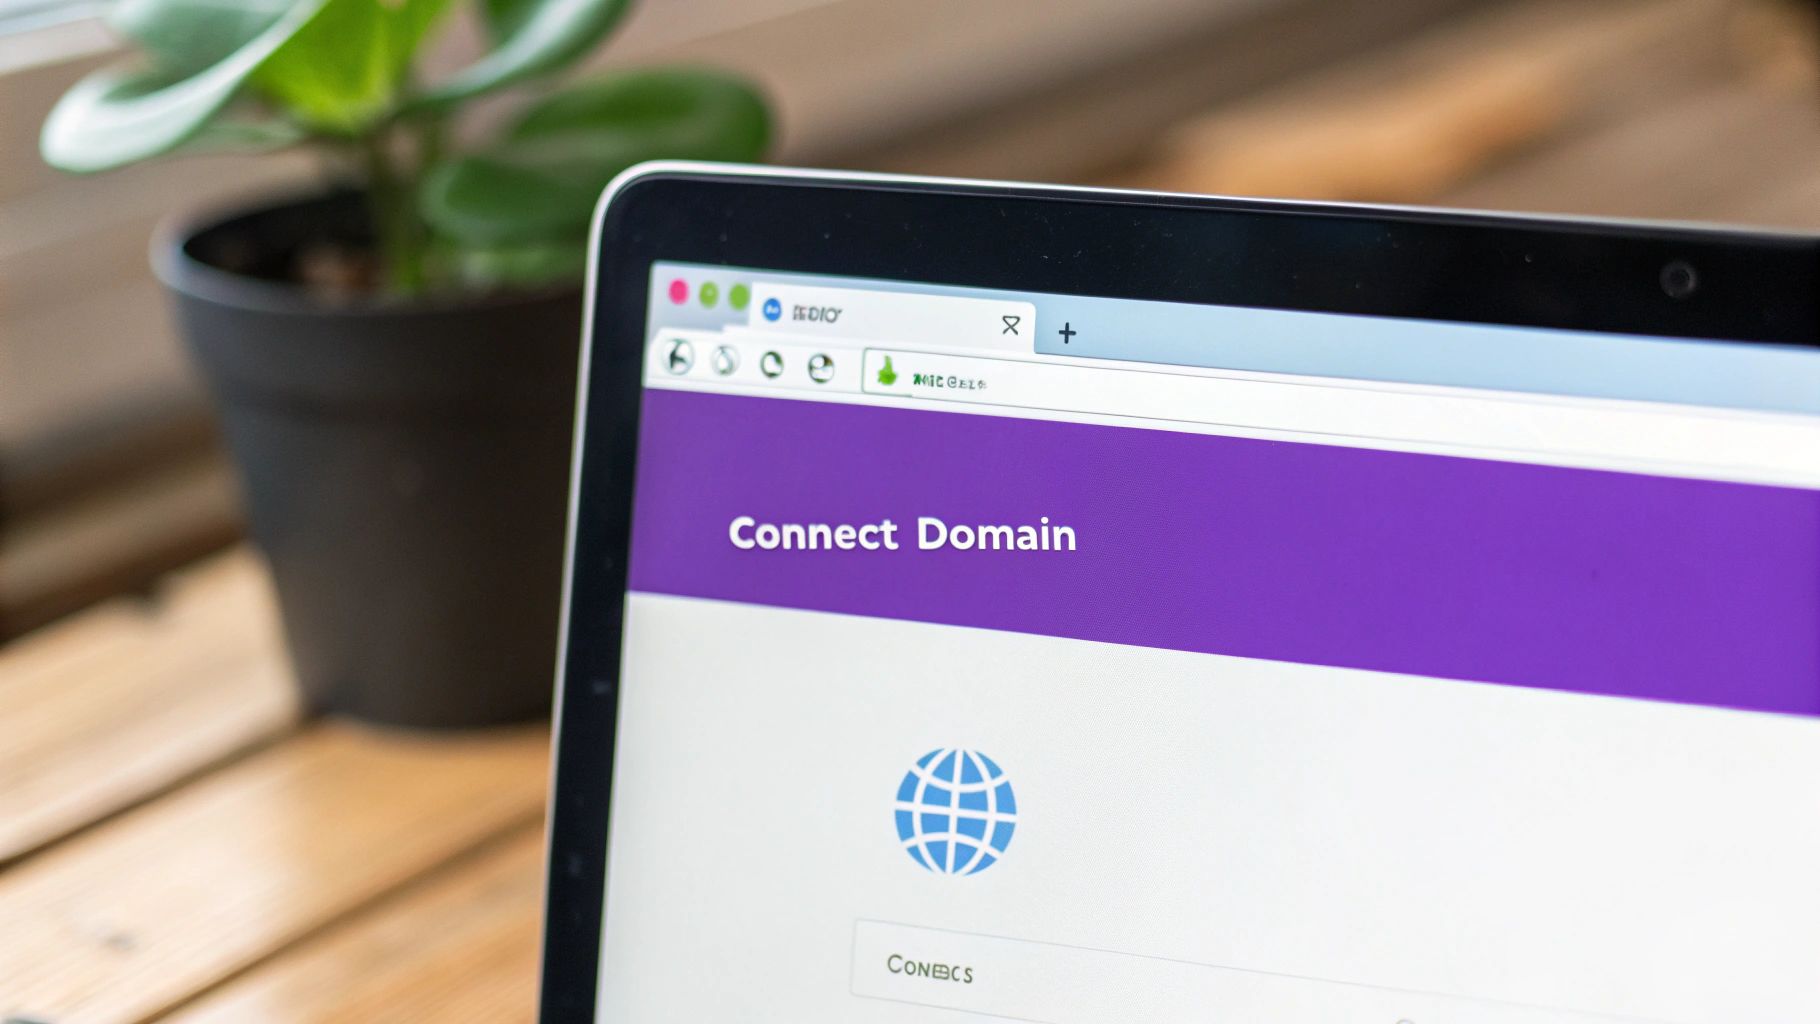
That auto-generated URL from Vercel or Netlify works, but let's be honest, it doesn't exactly scream "professional." To give your site a real identity, you need a custom domain. This is your digital address—the memorable brand people will actually type into their browsers.
Getting this hooked up involves two key pieces: a domain registrar and the Domain Name System (DNS). Just think of the registrar as the place you buy your address (like Namecheap or GoDaddy), and DNS as the internet's giant address book that points everyone in the right direction.
To really get your site off the ground, it helps to understand what is domain name registration and how these pieces fit together. It’s the crucial link between the code you just deployed and your public-facing brand.
Pointing Your Domain to Your Host
Once you’ve bought a domain, the next job is pointing it at your hosting provider. This is where you’ll get friendly with DNS records. Your host (Vercel, Netlify, etc.) will give you specific instructions—usually a set of nameservers or an A record—to plug into your registrar’s settings.
This simple step tells the global DNS network that whenever someone types in yourcoolsite.com, they should be sent to the servers where your site lives. It might sound a bit technical, but hosting platforms have made this incredibly straightforward with clear, guided steps.
Don't panic if your site doesn't show up at the new domain right away. DNS changes need to "propagate" across the internet, which can take anywhere from a few minutes to 48 hours. Just give it some time.
Entering the World of Web3 Domains
For those of us building onchain, there's another path—one that's much more aligned with the decentralized ethos: Web3 domains. These aren't just names you rent; they're non-fungible tokens (NFTs) that you actually own, sitting securely in your crypto wallet.
The most popular system here is the Ethereum Name Service (ENS), which gives you human-friendly names ending in .eth. Instead of a long, ugly wallet address, you get a clean name like yourname.eth. But its power goes way beyond just simplifying payments.
- Decentralized Websites: You can point an ENS name directly to a site hosted on IPFS, creating a fully decentralized, censorship-resistant web presence from top to bottom.
- Unified Digital Identity: Your ENS name becomes your universal Web3 username, linking to your wallet, avatar, a social profile, and a decentralized site all in one place.
- True Ownership: Unlike traditional domains, you truly own your ENS name. As long as you control the wallet, no one can take it from you.
For projects built with a tool like Dreamspace, which as a vibe coding studio is all about onchain apps, an ENS name is the perfect finishing touch. It ensures your frontend identity is just as sovereign as your smart contracts.
Securing Your Site with SSL
Finally, no matter which type of domain you choose, you absolutely need to secure your site with HTTPS. This is handled by an SSL/TLS certificate, which encrypts the connection between your site and your visitors, protecting their data and building trust.
Thankfully, the headache of manually buying and installing SSL certificates is a thing of the past. Modern hosts like Vercel and Netlify handle this for you, for free. The moment you connect your domain, they automatically issue and renew a certificate. Your site gets that little padlock icon in the browser bar with zero extra work from you. While this is seamless on modern platforms, those on older systems like WordPress might find our guide on AI website builders for WordPress useful for simplifying other tricky parts of the process.
Automating Deployments with a CI/CD Pipeline
Getting your site live for the first time is a huge win. But what happens next? Manually deploying every tiny update is a recipe for frustration and silly mistakes. This is where a proper workflow superpower comes in: automation via a CI/CD pipeline.
CI/CD stands for Continuous Integration and Continuous Deployment (or Delivery). It’s the secret sauce that lets professional teams ship code quickly and confidently. Instead of a stressful, manual process, you automate the whole thing.
The concept is surprisingly simple. You set up a workflow that keeps an eye on your Git repository. The second you push a new commit, it triggers a chain of events: your code gets built, your tests run, and if everything looks good, the new version goes live. No more manual uploads. Just git push.
Building Your First CI/CD Workflow
Setting up a CI/CD pipeline might sound like a huge technical hurdle, but tools like GitHub Actions have made it easier than ever. You just define the workflow in a simple YAML file that lives right inside your project repository. Think of it as a recipe for your deployment automation.
So, let's say you just fixed a typo or added a cool new feature. Instead of repeating all the manual deployment steps, you just commit your code.
Behind the scenes, your CI/CD pipeline kicks into gear:
- Builds the Project: It runs
npm run build(or your framework's equivalent) to package your site for production. - Runs Tests: If you have automated tests set up, it runs them to make sure your latest change didn't break anything. This is your safety net.
- Deploys to Production: Once all the checks pass, it pushes the new build to Vercel, Netlify, or even your decentralized host.
This cycle ensures that every single change is validated before it ever reaches your users. It completely removes that "am I about to break something?" anxiety that comes with manual deployments.
A good CI/CD pipeline turns deploying from a major event into a boring, everyday task. It’s the ultimate "work smarter, not harder" move for any developer.
The Vibe-to-Live Cycle with Dreamspace
This hands-off approach is a perfect match for creators using Dreamspace. As a "vibe coding" studio, Dreamspace is brilliant at generating production-ready frontends and smart contracts from a simple prompt. The AI does the heavy lifting, giving you a clean, deployable project from the start.
When you connect that AI-generated repo to a CI/CD pipeline, you create a seamless "vibe-to-live" cycle. You can tweak the UI, update some text, or even ask the AI to generate a new feature, and every git push sends it live automatically. This blend of AI generation and deployment automation is how modern creators are going from idea to a live, constantly improving product at lightning speed.
To really nail this down, it’s worth digging into continuous deployment practices. Understanding the principles helps you fine-tune your pipeline for faster, more reliable releases, making sure your users always have the best version of your app. For anyone learning how to publish a site, setting up CI/CD is a non-negotiable step toward doing it like a pro.
Troubleshooting Common Deployment Issues
So, you pushed your code, ran through the deployment steps, and your site is live. Awesome. But let’s be real—the work doesn't stop there. Things break. It’s not a matter of if, but when. Knowing how to quickly figure out what went wrong is a crucial skill for anyone managing a web project long-term.
Even with the slickest workflow, you’ll eventually hit a snag. The most common one? A good old-fashioned build failure. This just means your hosting platform tried to assemble your code and hit an error it couldn't resolve.
When this happens, your first move is always the same: read the deployment logs. Seriously. Every modern hosting provider—Vercel, Netlify, you name it—gives you a detailed log of the entire build process. The exact error message you need is almost always hiding at the very end.
Diagnosing Common Errors
Once you start digging into those logs, you'll see the same kinds of problems pop up again and again. Learning to spot them will save you a ton of headaches.
Here are the usual suspects:
- Dependency Issues: See a
Module not founderror? That’s a classic sign of a missing or mismatched package. A quicknpm installon your local machine before pushing can often catch these ahead of time. - Environment Variable Errors: If your app can't talk to an API or database, it's almost certainly a missing or incorrect environment variable. Pop open your hosting dashboard and double-check that all the keys you need are actually there and spelled correctly.
- Case-Sensitivity Conflicts: This one gets everybody at least once. Your
Image.JPGfile works perfectly on your Mac, but the Linux server running the build sees it as completely different fromimage.jpg. It's the ultimate "works on my machine" problem, and build logs are your best bet for spotting it.
After a successful launch, a whole new class of bugs can emerge. Broken links and images that refuse to load are common hiccups, usually caused by messed-up file paths in your code. You might also run into mixed content errors, where your secure https page tries to load an insecure http resource, which modern browsers will block immediately.
Think of your deployment logs as your project's black box recorder. They tell you exactly what went wrong and where. Getting comfortable reading them is the single most valuable troubleshooting skill you can develop.
Optimizing for Long-Term Success
Fixing what’s broken is only half the battle. The other half is making sure your site stays fast, reliable, and healthy over time.
A great first step is setting up site monitoring. A tool like UptimeRobot can ping your site every few minutes and shoot you an alert the second it goes down. This way, you can fix issues before most of your users even notice.
Performance is another beast entirely. Run your live site through Google Lighthouse. It gives you a full report card on performance, accessibility, and SEO, complete with actionable advice like compressing images or minifying your JavaScript. These small tweaks can make a huge difference in how fast your site feels. Even projects kicked off with an AI app generator like Dreamspace, which might start as a simple vibe coding studio idea, need these post-launch health checks to deliver a top-notch experience.
In a world where publisher-AI licensing deals are expected to top $500 million in 2025 and AI-driven content is boosting engagement by 40%, performance is everything. As these publishing statistics from Newprint.com show, top-tier publishers know a fast, reliable site is non-negotiable. Owning your web presence isn’t just about the launch—it’s about the ongoing work that keeps it running smoothly for the long haul.
Common Questions About Publishing Your Site
Getting your project live is exciting, but it's natural to have a few last-minute questions. Whether you're wondering about costs, how long it'll take, or the specific needs of an onchain app, let's clear things up so you can launch with confidence.
How Much Does It Cost to Publish a Simple Website?
Honestly, for most personal sites and smaller projects, you're looking at close to zero.
Platforms like Vercel, Netlify, and GitHub Pages have fantastic free tiers that are more than enough for most people. Your only real cost is usually the custom domain name, which will set you back about $10-$20 a year.
Even decentralized hosting is surprisingly cheap to get started. A service like Pinata gives you a free chunk of IPFS storage to play with. Costs only really start to appear when you need heavy-duty serverless functions, massive bandwidth, or enterprise-level features.
Once My Code is Done, How Long Until It's Live?
Almost no time at all. With modern hosting, the actual deployment is blazing fast.
As soon as you push your code to a Git repository, you can hook it up to a provider and have a live URL in less than five minutes. The entire build-and-deploy process is handled for you automatically.
The only thing that might slow you down is DNS propagation when you connect a custom domain. Sometimes it takes a few hours for those changes to spread across the internet, but your site will be live on the provider's URL almost instantly.
Do Onchain Crypto Apps Need Special Hosting?
Technically, you can host a dApp's frontend anywhere. But should you? Probably not.
For a true web3 project, using decentralized storage like IPFS or Arweave just makes sense. It keeps your frontend just as censorship-resistant and unstoppable as your smart contracts, which is the whole point.
This is where a tool like the Dreamspace AI app generator really shines. It's designed for this exact workflow, building projects that are primed for a fully decentralized deployment from day one.
What's the Difference Between Source Code and a Build Artifact?
This is a great question. Your source code is the stuff you actually write—all those React, Svelte, or Vue components that are easy for humans to read. The build artifact is what the browser actually runs.
Think of it like this: a build process takes your human-friendly source code and smushes it down into an optimized package. It minifies CSS and JavaScript, compresses images, and bundles everything into a tight little group of static files (HTML, CSS, JS). Hosting platforms deploy these artifacts, not your raw code.
Ready to go from idea to a live onchain app in minutes? Dreamspace is the vibe coding studio that lets you generate production-ready crypto apps with AI, no code required. Start creating your project today.