
How to Host a Website in GitHub for Free
Hosting your website on GitHub is one of the smartest (and cheapest) moves you can make as a developer. In a nutshell, you just create a repository, push your static files—the classic HTML, CSS, and JavaScript—and then flip a switch in the settings to enable GitHub Pages. Just like that, your site is live at a unique github.io URL.
Why GitHub Pages Is Your Best Free Hosting Option

Before we jump into the how-to, let's talk about why so many of us rely on GitHub Pages. It’s way more than just a freebie; it’s a pro-level hosting solution baked right into the platform we already use every day.
The biggest draw is obvious: it’s completely free for any public repository. This alone makes it a no-brainer for countless projects, letting you get online without ever thinking about a hosting bill.
Seamless Workflow and Reliability
What I love most is the slick integration with Git. Every single time you git push an update to your main branch, GitHub Pages can automatically rebuild and deploy your site. This creates an incredibly smooth, version-controlled workflow where your live website is always a perfect mirror of your code.
And you're not just getting convenience. You’re getting the power of GitHub's massive infrastructure. That means you can count on fantastic uptime and surprisingly fast performance, all thanks to a global CDN that serves your site quickly to visitors anywhere on the planet.
Practical Use Cases for GitHub Pages
I’ve seen this used for just about everything, but it really shines in a few key areas:
- Developer Portfolios: The perfect place to show off your projects with a fast, professional-looking personal site.
- Project Documentation: Host docs for your open-source work so other developers can easily find and use them.
- Landing Pages: Need to spin up a quick page for a new app or startup idea? This is the fastest way to test the waters.
- Personal Blogs: It works beautifully with static site generators like Jekyll or Hugo, making it a great home for your technical blog.
If you're weighing your options, it’s worth checking out some other free blogging sites for beginners to see how GitHub Pages compares.
The real magic of GitHub Pages is how it eliminates friction. It’s built right into the developer tools you're already using, so you can stop messing with hosting infrastructure and just focus on building cool stuff.
The platform is purpose-built for static sites, which are inherently secure and blazing fast because there's no complex server-side code to run. This simplicity is a huge plus, whether you're building with an AI app generator like Dreamspace or just learning about what no-code development is and want to get your first project online.
Preparing Your Site for GitHub Deployment
Before you can push your site live, you've got to get your digital house in order. A little prep work now saves a ton of headaches later. Getting this right comes down to having a clean project structure and the right tools installed on your machine.
First things first: your index.html file is everything. GitHub Pages is specifically programmed to look for this file as the main entry point to your site. If it's missing, named something else, or tucked away in a subfolder, visitors will hit a 404 error. No exceptions.
Make sure it's sitting right in the root of your project folder.
Choosing Your Site Type
Next up, you need to decide what kind of site you're building. This choice directly impacts your repository's name and the final URL, so it's a key decision to make early on.
GitHub gives you two main options:
- User or Organization Site: This is your primary portfolio or company hub. It gets a special repository name:
your-username.github.io. The cool part is that it's served directly from that root URL. You only get one of these per account, so make it count. - Project Site: Perfect for individual projects, documentation, or side hustles. These sites are hosted from a standard repository, and the URL will look like
your-username.github.io/your-repository-name. You can create as many of these as you need.
A User site is ideal for a personal portfolio, while Project sites are great for showing off a specific app or documenting a code library.
Setting Up Your Local Environment
Got your files organized? Awesome. The final prep step is to get your local machine ready for version control with Git. Git is the system that tracks every change you make and syncs it all up with your GitHub repository. If you don't have it installed yet, you can grab it from the official Git website.
Once Git is ready, pop open your terminal (or command prompt), navigate to your website's main folder, and run this simple command: git init.
That’s it. You’ve just initialized a new local Git repository in that folder, officially turning it into a version-controlled project. This is the foundation for pushing your code to GitHub.
A well-structured project isn't just a best practice; it's a requirement for a smooth deployment. Taking five minutes to confirm your
index.htmlfile placement and initialize Git can save you hours of troubleshooting.
This whole prep stage is fundamental, whether you're coding from scratch or using a more advanced tool. Even when you're using a modern AI website builder instead of WordPress, understanding the basic structure is crucial. At Dreamspace, our vibe coding studio makes the build process a breeze, but a solid foundation is always the key to bringing your vision to life on GitHub.
Creating and Pushing to Your GitHub Repository
Alright, your local files are ready to go. Now it's time to get them from your machine onto the web. This part is all about creating a home for your project on GitHub and pushing your code up for the first time. Think of it as moving your finished work from a private studio into a public gallery.
First thing's first: log into your GitHub account and create a new repository. Pay close attention here, because how you name it really matters, especially if you're making a personal portfolio or a "User site."
For this specific kind of site, you have to use a very precise format: your-username.github.io. You'll swap your-username with your actual GitHub handle. This naming convention is a special instruction that tells GitHub Pages to treat this repo as your main website, making it live at that exact URL. If you're just deploying a regular project, any normal repository name will work just fine.
Make sure you set the repository's visibility to Public. GitHub Pages hosting is a fantastic free service, and it's intended for open, public projects. You can host from private repos, but that requires a paid GitHub plan.
Connecting Your Local Project to GitHub
Once you've created the empty repository on GitHub, it will show you a unique URL. This is the address your local Git setup needs to know about. Let's hook them up using the command line.
Pop open your terminal, navigate back into your project folder, and run the command to add a "remote" origin. It's usually something like git remote add origin [your-repository-url]. This is a one-time command that creates a permanent link, telling your local project where its online home is.
Now you're ready for the initial "push." This is where you send your files up to the server. It just takes a few simple Git commands:
git add .- This command "stages" all your files, basically getting them packed and ready to be saved.git commit -m "Initial commit"- This takes a snapshot of your staged files and attaches a message. "Initial commit" is a classic for the first one.git push -u origin main- This is the final step that actually uploads your committed files to themainbranch of your new repository on GitHub.
After running those, head back to your repository page on GitHub and give it a refresh. You should see all your files—index.html, your CSS, your JavaScript—all safely stored online.
Finding the GitHub Pages Settings
With your code now living on GitHub, the last piece of the puzzle is to actually turn on the hosting feature. You'll find this inside your repository’s settings.
Click on the Settings tab in your repository. In the sidebar on the left, look for a Pages section. This is the command center for your deployment. Clicking it takes you right to the options for building and deploying your site, which is the final gateway to getting your project live.
By the way, this same deployment workflow works even if you build your project in a different environment. If you're looking to explore what's out there beyond traditional local setups, you can find a great list of Replit alternatives to consider that offer some really unique features for coding online.
Going Live With GitHub Pages
You've got your code pushed up to GitHub, which is great. Now for the fun part: flipping the switch and putting your site out there for the world to see. This is where you tell GitHub which files make up your website and how to serve them.
The process itself is pretty simple, but your first big decision is choosing where your site's code will live. This choice sets the stage for how you'll manage and update your project down the road.
Choosing Your Deployment Source
So, where should GitHub Pages look for your website's files? You have a couple of solid options, and the right one really just depends on your project's setup.
- Deploy from a branch: This is the classic, most common approach. You just point GitHub to a specific branch, and it serves the files from there. Simple as that.
- GitHub Actions: If you have a more involved setup—say, you're using a static site generator that needs a build step—GitHub Actions is your best friend. You can create a workflow that automatically builds your site and then deploys the finished product.
For most folks starting out, deploying from a branch is the way to go. We'll focus on that here.
Your choice of branch strategy really shapes your workflow. A simple, hand-coded portfolio site can live perfectly fine on the
mainbranch. But a more complex project, maybe one built with a tool like the Dreamspace AI app generator, will benefit from a dedicatedgh-pagesbranch to keep the source code and the live, compiled site separate.
It's a surprisingly popular way to host sites. In fact, 17.86% of websites in the hosting category use GitHub Pages, making it the second most popular solution of its kind. That's a huge vote of confidence from the developer community. You can dig into more stats on popular hosting solutions on Stackcrawler.
So, which branch strategy is for you? It really boils down to how your project is structured. Each option has its own sweet spot, and picking the right one from the get-go saves you headaches later.
Here’s a quick rundown to help you decide.
Choosing Your GitHub Pages Deployment Source
Ultimately, there's no single "best" answer—just the one that fits your project. For a basic static site, main is perfect. For anything with a build step, gh-pages is the professional standard.
Firing It Up and Finding Your URL
Once you've made your choice, getting your site live takes just a few clicks.
Head over to your repository on GitHub and click on the Settings tab, then find Pages in the left sidebar.
Under the "Build and deployment" section, you'll see a dropdown for your Source. Select Deploy from a branch. From there, just choose the branch (and folder, if you're using /docs) you decided on.
Hit Save.
GitHub will now get to work, building and deploying your site for the first time. It usually only takes a minute or two. You'll know it's ready when a green notification box appears at the top of the page with your site's URL.
It'll look something like this: https://your-username.github.io/your-repository/
Go ahead and click that link. Your website is officially on the internet.
Leveling Up with Advanced GitHub Pages Features
Getting your site live is a huge first step, but that's really just scratching the surface. The real magic of hosting on GitHub lies in its more advanced features, which let you transform a simple project into something truly professional, secure, and automated. This is where we elevate your site.
This infographic lays out the beautifully simple process of getting your code from a local repository to a live website.
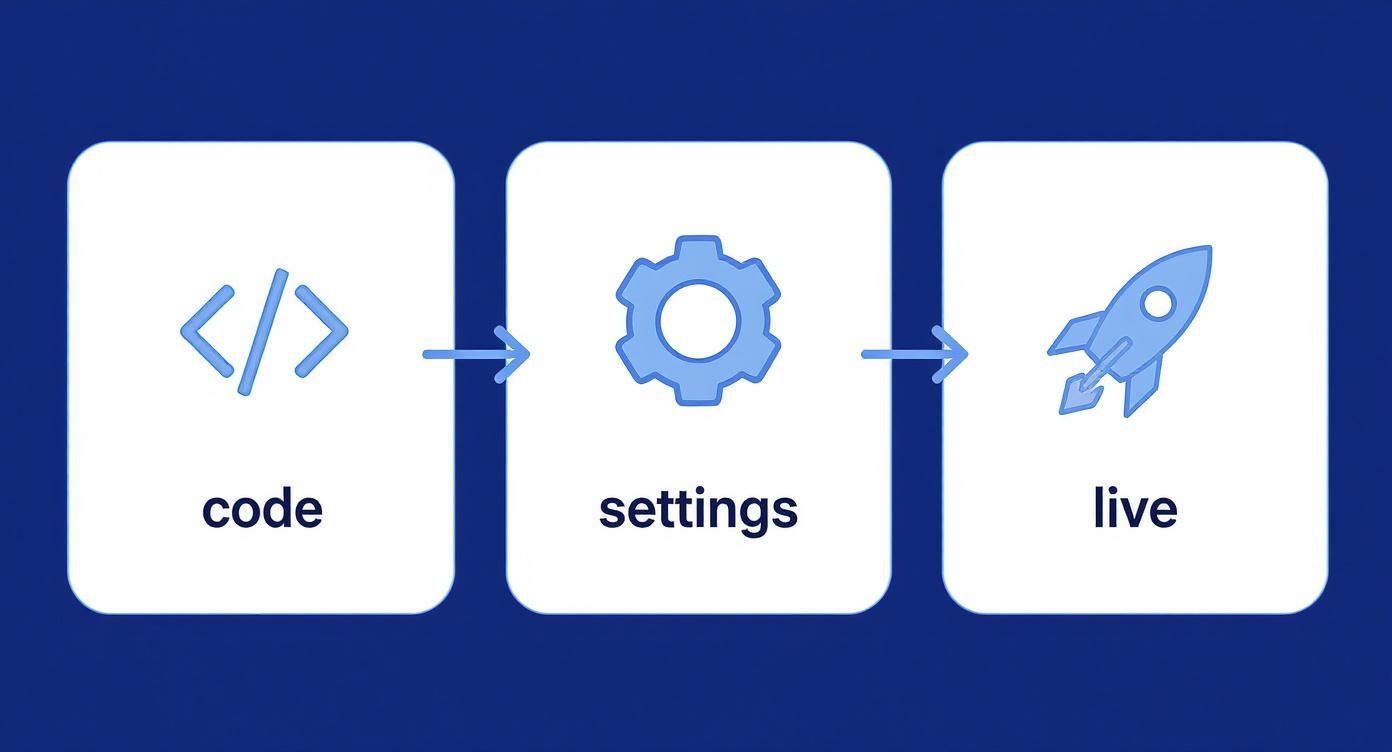
As you can see, it really only takes a few clicks to get everything up and running. It's a perfect illustration of the platform's efficiency.
Securing a Custom Domain
One of the quickest ways to make your project look legit is to ditch the default username.github.io URL and hook up a custom domain. It immediately gives your site a branded, memorable address like www.yourdomain.com.
The setup is surprisingly straightforward. Once you buy a domain from any registrar, you’ll just need to configure its DNS records to point toward GitHub's servers. From there, you pop into your repository’s settings, find the "Pages" section, and type in your custom domain. GitHub takes care of the rest, even generating a CNAME file in your repo to lock in the connection.
Don’t forget this critical step: enforcing HTTPS. GitHub Pages hands out free SSL/TLS certificates, and all it takes is a single checkbox in your settings to enable it. This not only secures your site and protects your visitors but also gives you a nice little SEO bump.
Tapping Into Jekyll for Dynamic Features
Ever wanted to run a blog or use slick themes without wrestling with a database or a complex backend? GitHub Pages has a secret weapon for this: built-in support for Jekyll.
Jekyll is a powerful static site generator that lets you build your site using simple Markdown files. It’s perfect for things like:
- Blogging: Just write your posts in Markdown. Jekyll handles the rest, automatically generating the HTML pages, index, and archives for you.
- Theming: You can easily apply pre-built themes to give your site a professional facelift without touching a single line of CSS.
- Organized Content: Use layouts and templates to keep your site's structure consistent across every single page.
This completely changes the game for content management. Updating your site becomes as simple as committing a new text file.
Automating Deployments with GitHub Actions
If you're looking for that true "set it and forget it" workflow, GitHub Actions is your answer. It lets you build a full-blown continuous integration and deployment (CI/CD) pipeline right inside your repository.
With a simple workflow file, you can tell GitHub to automatically run a build process every time you push a change. This is a lifesaver if you're using a static site generator like Hugo or if you need to compile assets like Sass and JavaScript. Once the build finishes, the Action can deploy the final files straight to your live site, all on its own.
This kind of automation is what makes hosting on GitHub so incredibly scalable. It’s a major reason the platform now hosts over 420 million repositories and blew past 100 million developers in early 2023. This massive, battle-tested infrastructure is what supports everything from a simple personal blog to complex projects deployed from an AI app generator like Dreamspace. You can dig deeper into GitHub's impressive growth stats on CoinLaw.
Common Questions About Hosting on GitHub
Even when everything goes smoothly, a few questions always seem to pop up. When you're figuring out how to host a website on GitHub, you'll likely run into a few common snags. Let's get them sorted out so you can get back to building.
Is Hosting on GitHub Pages Really Free?
Yes, it really is. As long as your code lives in a public repository, hosting your site with GitHub Pages costs you absolutely nothing. This isn’t some temporary trial; it’s a core feature baked right into the platform.
And the free plan is no slouch. You get:
- A soft limit of 1 GB for your site's total size.
- A generous 100 GB of bandwidth each month.
- Up to 10 builds per hour.
Honestly, these limits are more than enough for almost any personal portfolio, project showcase, or documentation site you can think of. If you need to host from a private repository, you'll need a paid plan like GitHub Pro, Team, or Enterprise.
Why Is My GitHub Pages Site Showing a 404 Error?
Hitting a "404 Not Found" page is a classic headache, but the fix is usually surprisingly simple. Before you start tearing your code apart, run through this quick mental checklist.
The most common culprit? The entry file. Your site’s main page must be named index.html in all lowercase. It also has to live in the root of whatever source you chose for deployment—whether that’s the root of your main branch or a /docs folder.
Next, pop back into your repository’s settings under Settings > Pages. Double-check that you’ve selected the correct branch as your source. It’s an easy mistake to make. Finally, remember that it can take a few minutes for your changes to go live after a push. Sometimes, the only fix you need is a little bit of patience.
Can I Host a Dynamic Website with a Database?
This is a big one to understand: GitHub Pages is for static websites only. It’s fantastic at serving up HTML, CSS, and JavaScript files, but it has zero capability to run server-side code like PHP, Python, or Ruby.
Since there’s no server-side processing, you can’t connect your site directly to a database. The modern workaround is to build a static front-end and then pull in dynamic data using third-party APIs or serverless functions.
This setup is actually perfect for projects built with tools like the Dreamspace vibe coding studio. You can spin up a lightning-fast static site and then connect it to on-chain data or other web services through APIs. You get the speed of a static site with the power of dynamic content.
Ready to build your own on-chain app and deploy it with ease? At Dreamspace, we're all about vibe coding for crypto. Generate smart contracts, query blockchain data, and launch your site, all with the power of AI and no code needed. Start building your dream project today.